Show Your Miniatures Off - Setting Creation
I find it hard sometimes to get a decent picture of a finished Miniature and, in the past, I have been inclined to simply photograph my work in front of a plain white backdrop. However, I feel that a miniature in the correct setting, with a good backdrop, is visually more pleasing and has the added benefit of showing off the quality of my painting more.
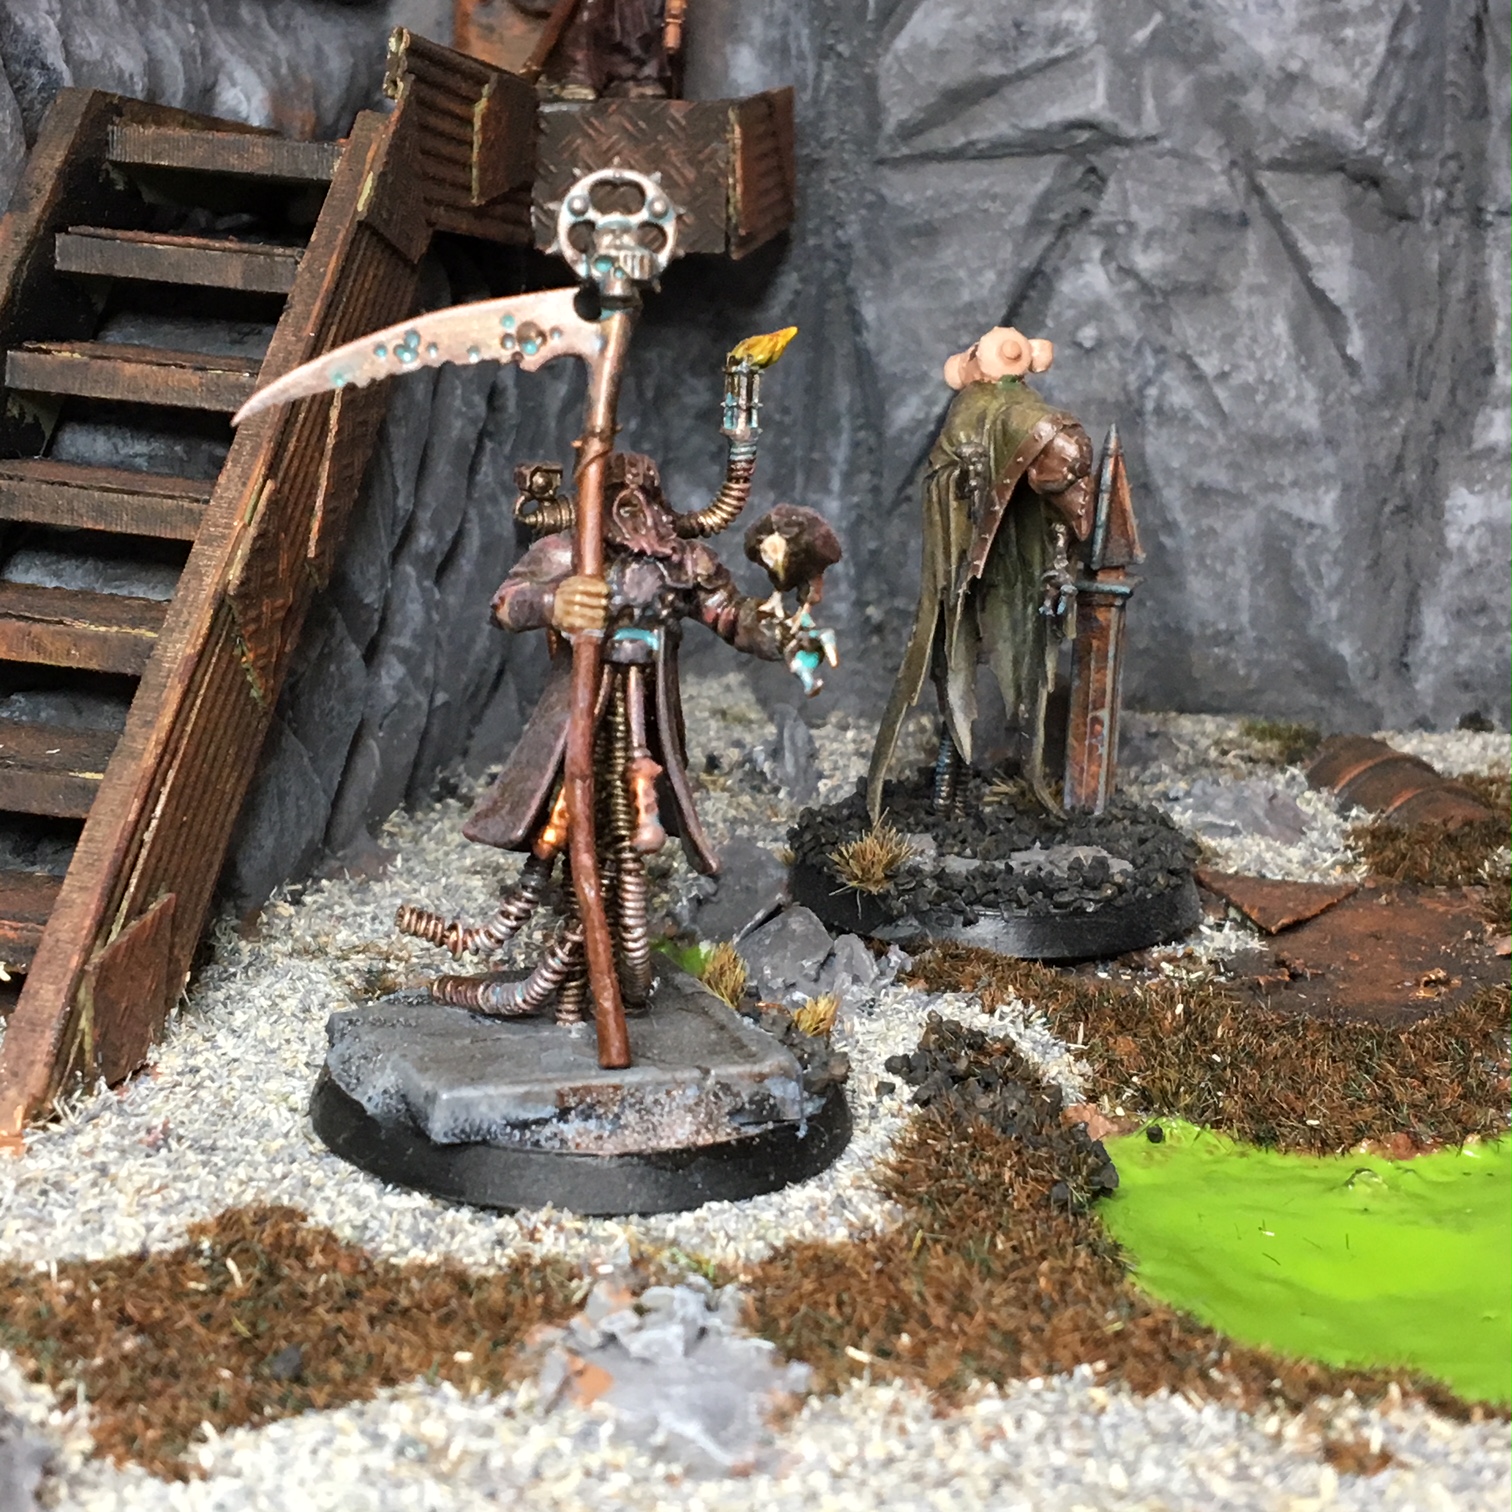
The backdrop I designed and built, shown in the following pictures, was something I made to show off my Blanchitsu inspired Inquisition Warband, a collection of Miniatures all heavily converted - but I see as some of my best work!
I started off with some blue insulation foam and a TT Combat laser cut MDF tile.

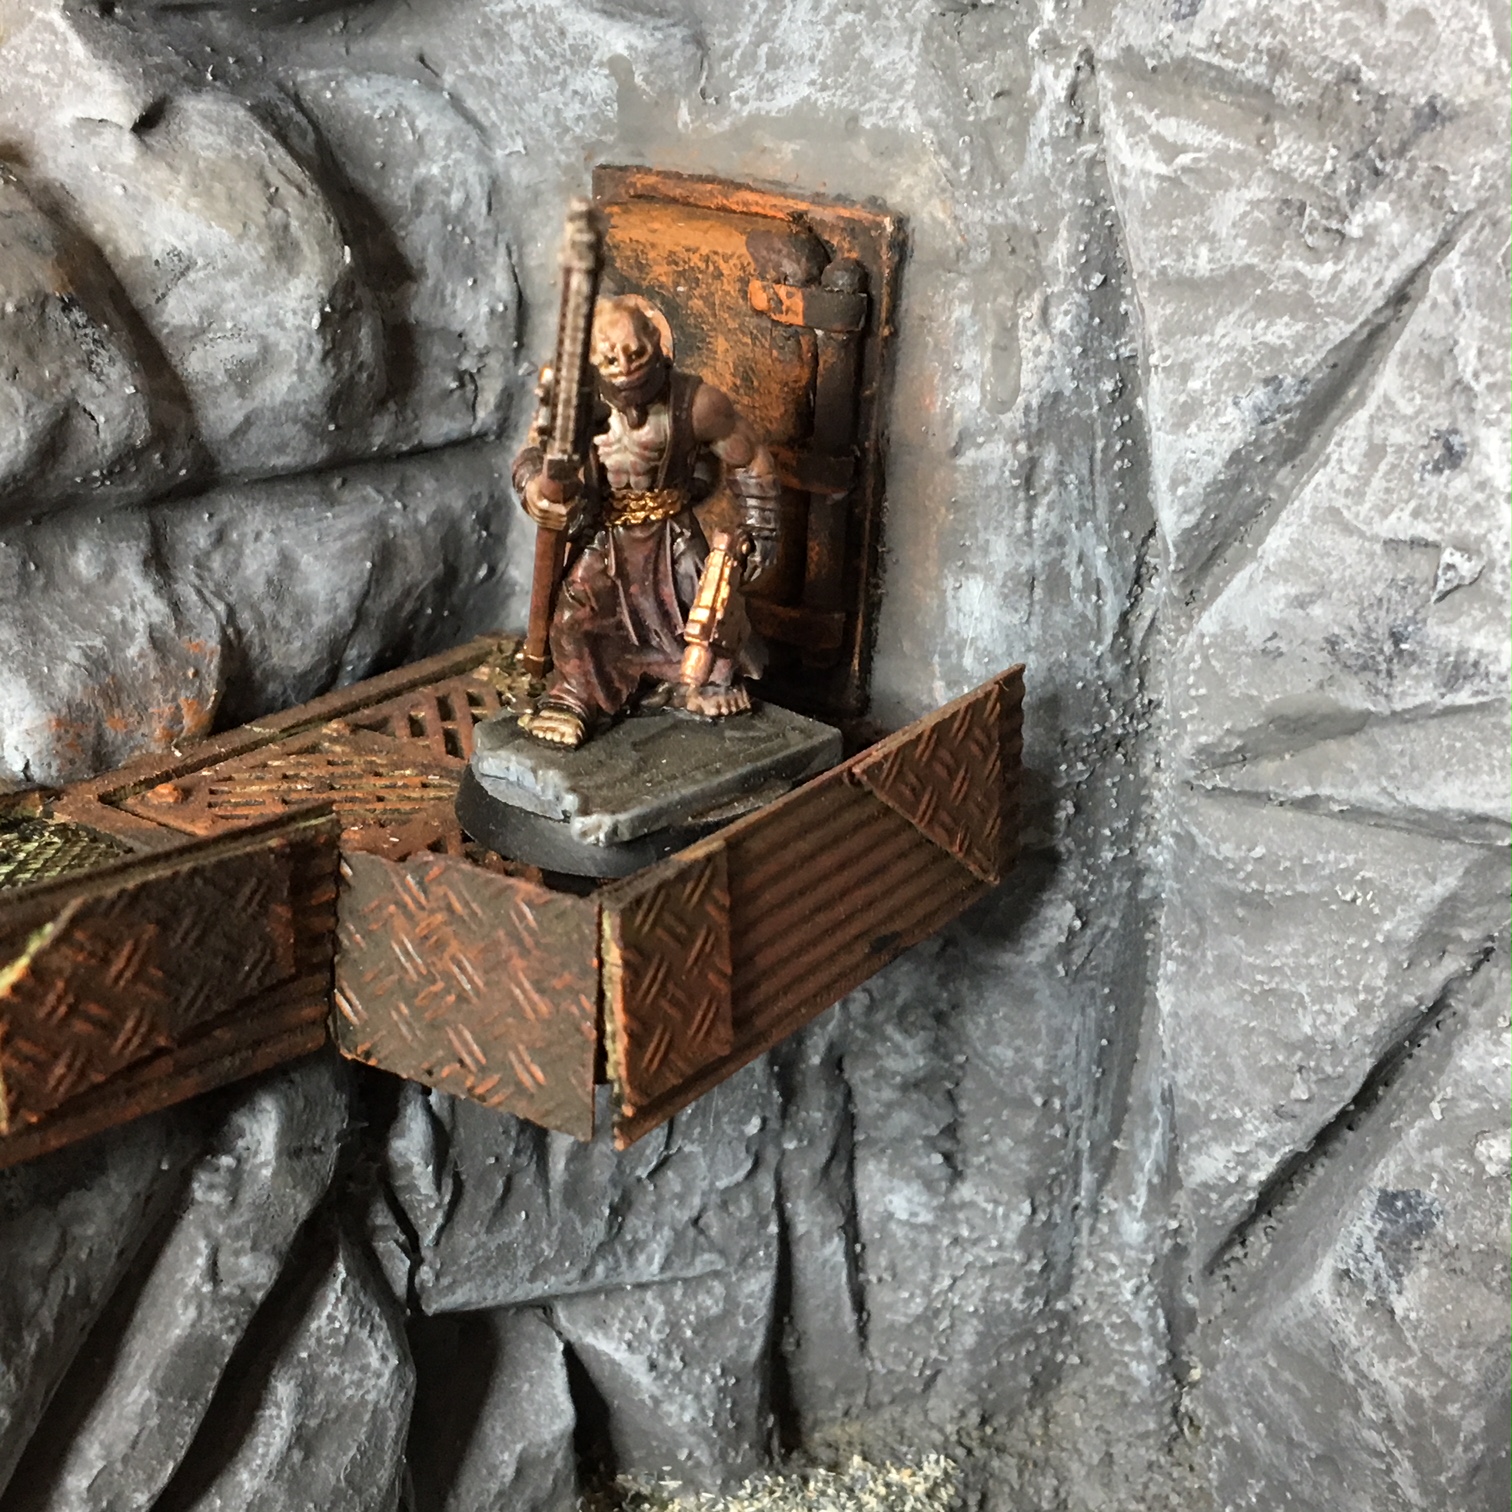
Once I had decided on the elements and style I wanted to convey, I sketched out a rough idea straight into the foam. I decided that two sides of the backdrop would have a rocky cliff face look to them and that I would add a set of steps to a door in the rock face.

Then I laid out all my scavenged bits and bobs that I had in my bits box to make sure everything made sense and nothing overbalanced the scene.

After I had everything drawn in on the foam I proceeded to use a craft knife to create the rocky texture, smoothing off some areas with sandpaper and my finger sander.

At this point I decided to make the rockfaces blend in I should add an overhang and some cracks radiating onto the ground panel and I would compliment this with some loose fallen rocks of varying sizes later in the build. I also added a crater and a waste runoff to the board and smoothed our some of the areas with some modelling clay.

Next I covered the whole board with a mixture of PVA glue and water diluted down enough so that I could squirt it out of a squirty bottle. This part was rather messy but the surfaces of the foam need protecting so paint and varnish etc do not melt the foam. Once the watered down PVA was dry I applied a layer of pure PVA to areas that I wanted more texture on and applied some very fine basing sand.

After leaving for a couple of days so that everything had hardened I applied my base browns and greys to the board, using cheap acrylic tester pots at this point I also Undercoated any metal parts in Citadel Lead Belcher followed with a Ryza Rust dry brushing.
Highlights were then applied using a mixture of different browns and greys with a final pass-over of a very light pure white dry brush. At the same time I applied PVA glue to any areas that were to be liquid filled, I applied several thick coats of PVA to these areas and was not worried about how opaque they would be as I would be colouring the water a very toxic green colour..

The final stages consisted of applying a mixture of Army Painter flocks, namely Burnt Grass and Ash Grey, followed be adding my Noxious Green Colour which is a mixture of 1 part PVA to 5 parts Vallejo Goblin Green, with a dash of Citadel Nurgle Rot. I also applied some more Citadel Ryza Rust over a light brushing of Citadel Abbadon Black to all the metal areas.

Once fully dried I gave the whole thing a coat of Matt Varnish and painted all the edges in Citadel Abbadon Black. The final product is better than I imagined it to be and I have taken lots of pictures using it, including my entry into the Iron Sleet Invitational painting competition.


What backdrops have you made for your miniatures? Share in the comments below :)
ASSOCIATED PRODUCTS