
Lockdown Hobby: Back to Basics Part 3: Painting
Welcome to the final instalment of this back to basics trilogy, I shall endeavour to make this more 'Return of the King' and less 'Rise of Skywalker' (note, Allen’s views on Star Wars are his own and do not necessarily reflect those of Wayland Games) and as always, intersperse the text with some more Top Tips.

This is where Star Wars ended for me, there were no sequels.
The number one thing to remember, and I cannot stress this enough; always thin your paint. You can dilute acrylic paint with water so you should. The benefits of thinning your paint:
Thinner paint is easier to control and will allow you to build on your colour by applying several layers of paint.
Several layers of paint will always result in a brighter, more strong colour. The consistency you want to aim for is that of Milk. Why Milk? It's the perfect in-between consistency - the paint doesn't flow all over the place, but it's still very fluid.
Using thin coats actually uses less paint, as there will be less drying on your palette at any given time. Paint left in the pot is paint saved.
It’s much easier to apply more paint than it is to remove too much.
Thick paint has a much greater chance of clogging and obscuring the detail on a model. You don’t want that.

My trusty Army Painter wet palette. It’s hard to show in an image but hopefully you can see that the paint to the right is thinner and more easily manipulated.
A quick word about palettes. You can use a lot of things as a palette; the lid of a plastic tub, a ceramic tile, a cheap plastic artist's palette, in fact, you can use pretty much anything that is not porous! As acrylic tends to dry quite quickly, if you don't want to be wasteful, you can also purchase a Wet Palette like this Army Painter wet palette, which is affordable and great for beginners . As the name suggests, Wet Palettes keep the paint wet between sessions, and you will likely make the money you spend on the palette back in saved paint.
So back to the paint. The main thing to remember, apart from thinning your paint is that less is more. You don't want to slather paint all over your model, flooding the model with paint, as you'll just end up obscuring the detail. Less paint on the brush will be much easier to control and provided you are using the correct sized brush you will be surprised by how much paint it can hold. As I said above, it’s easier to apply more paint than to remove it.

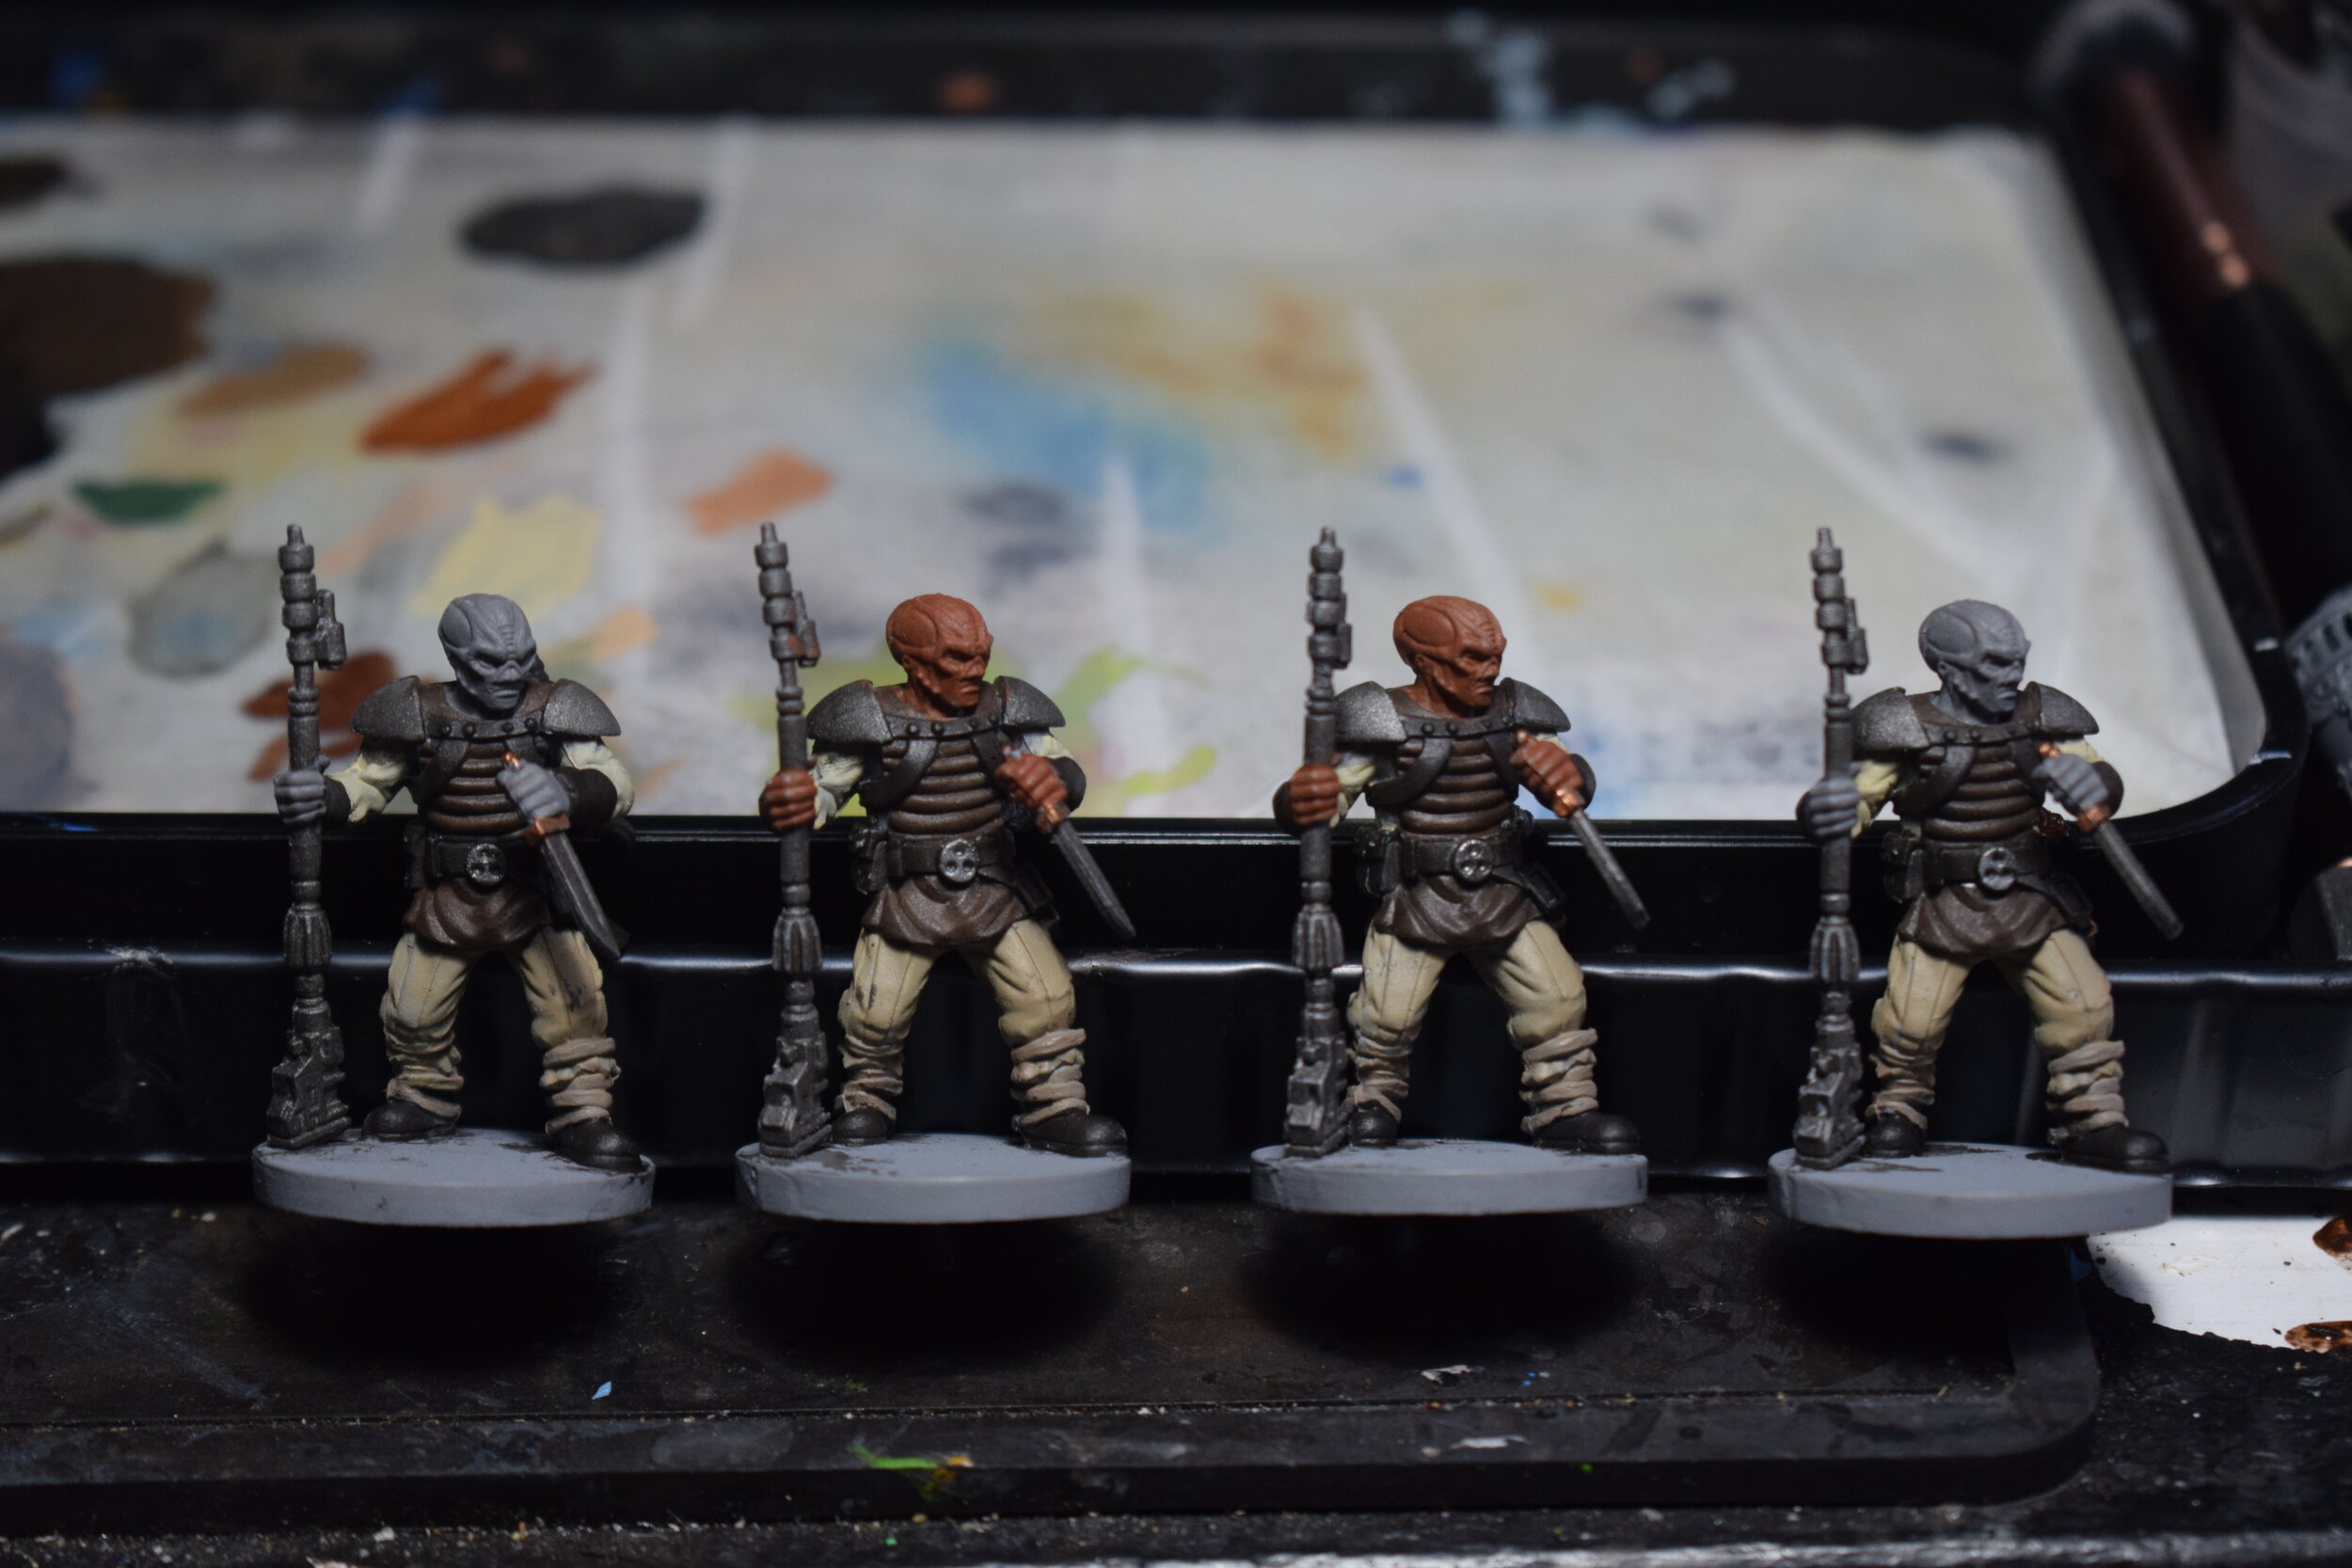
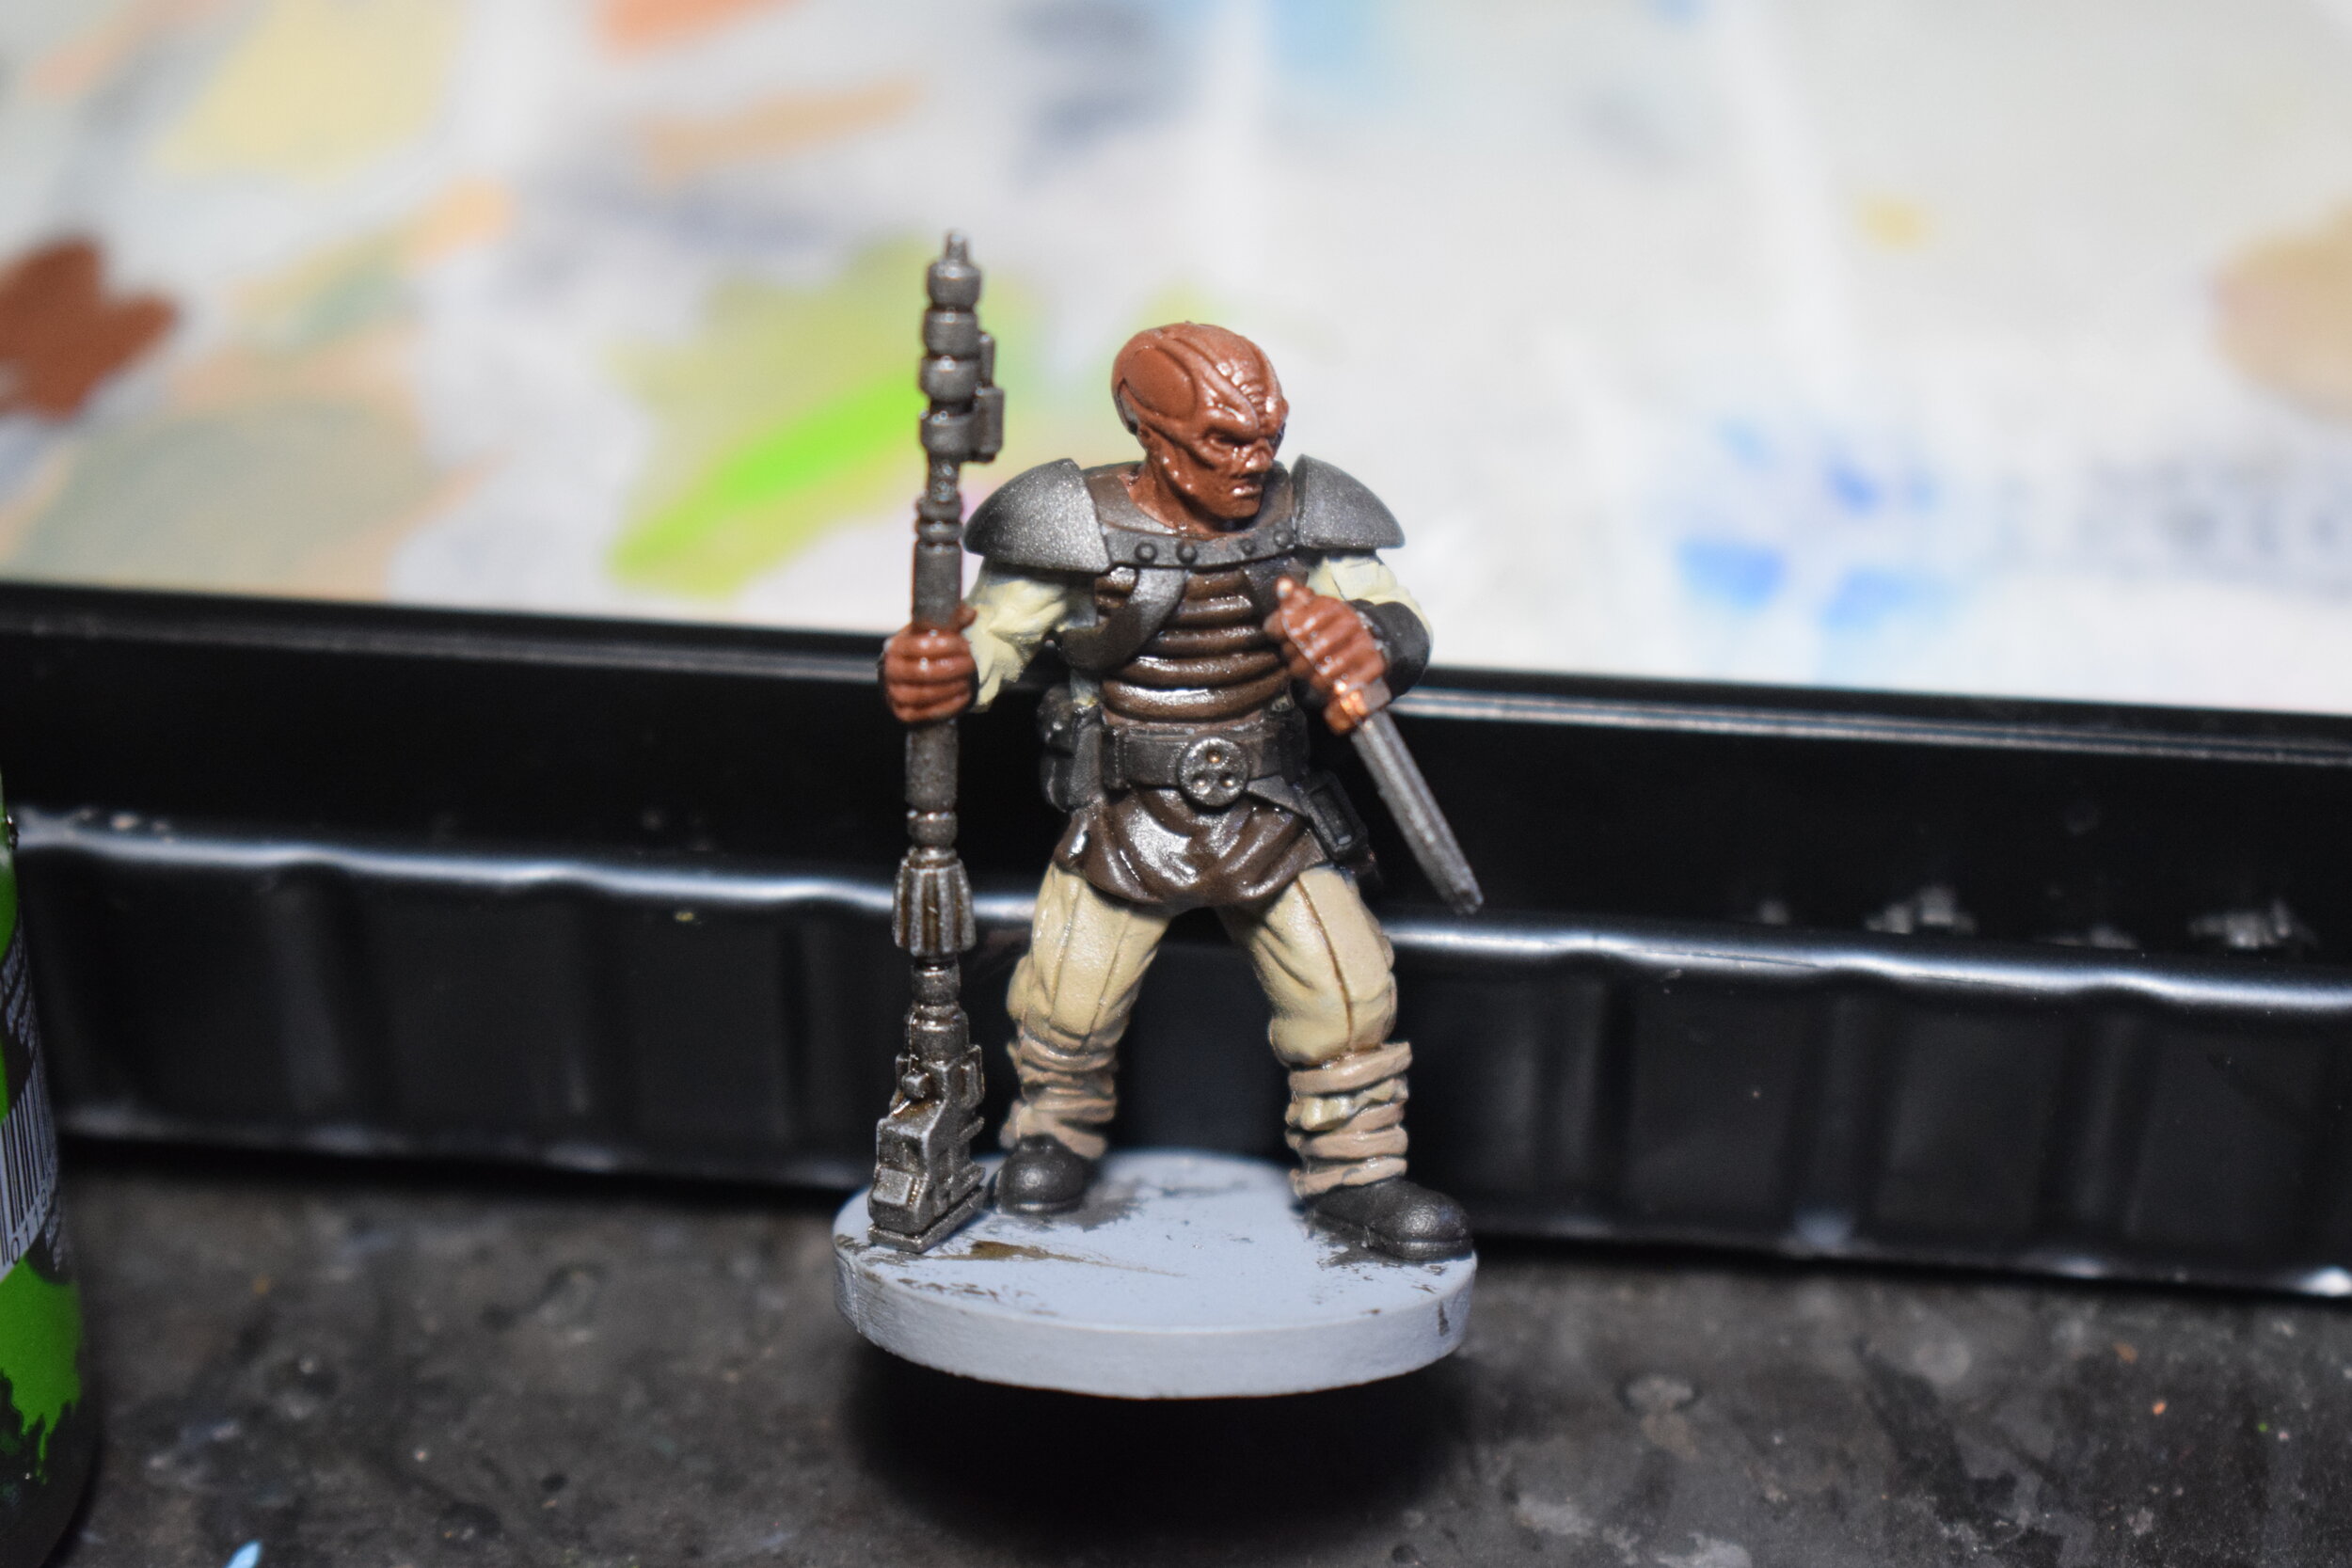
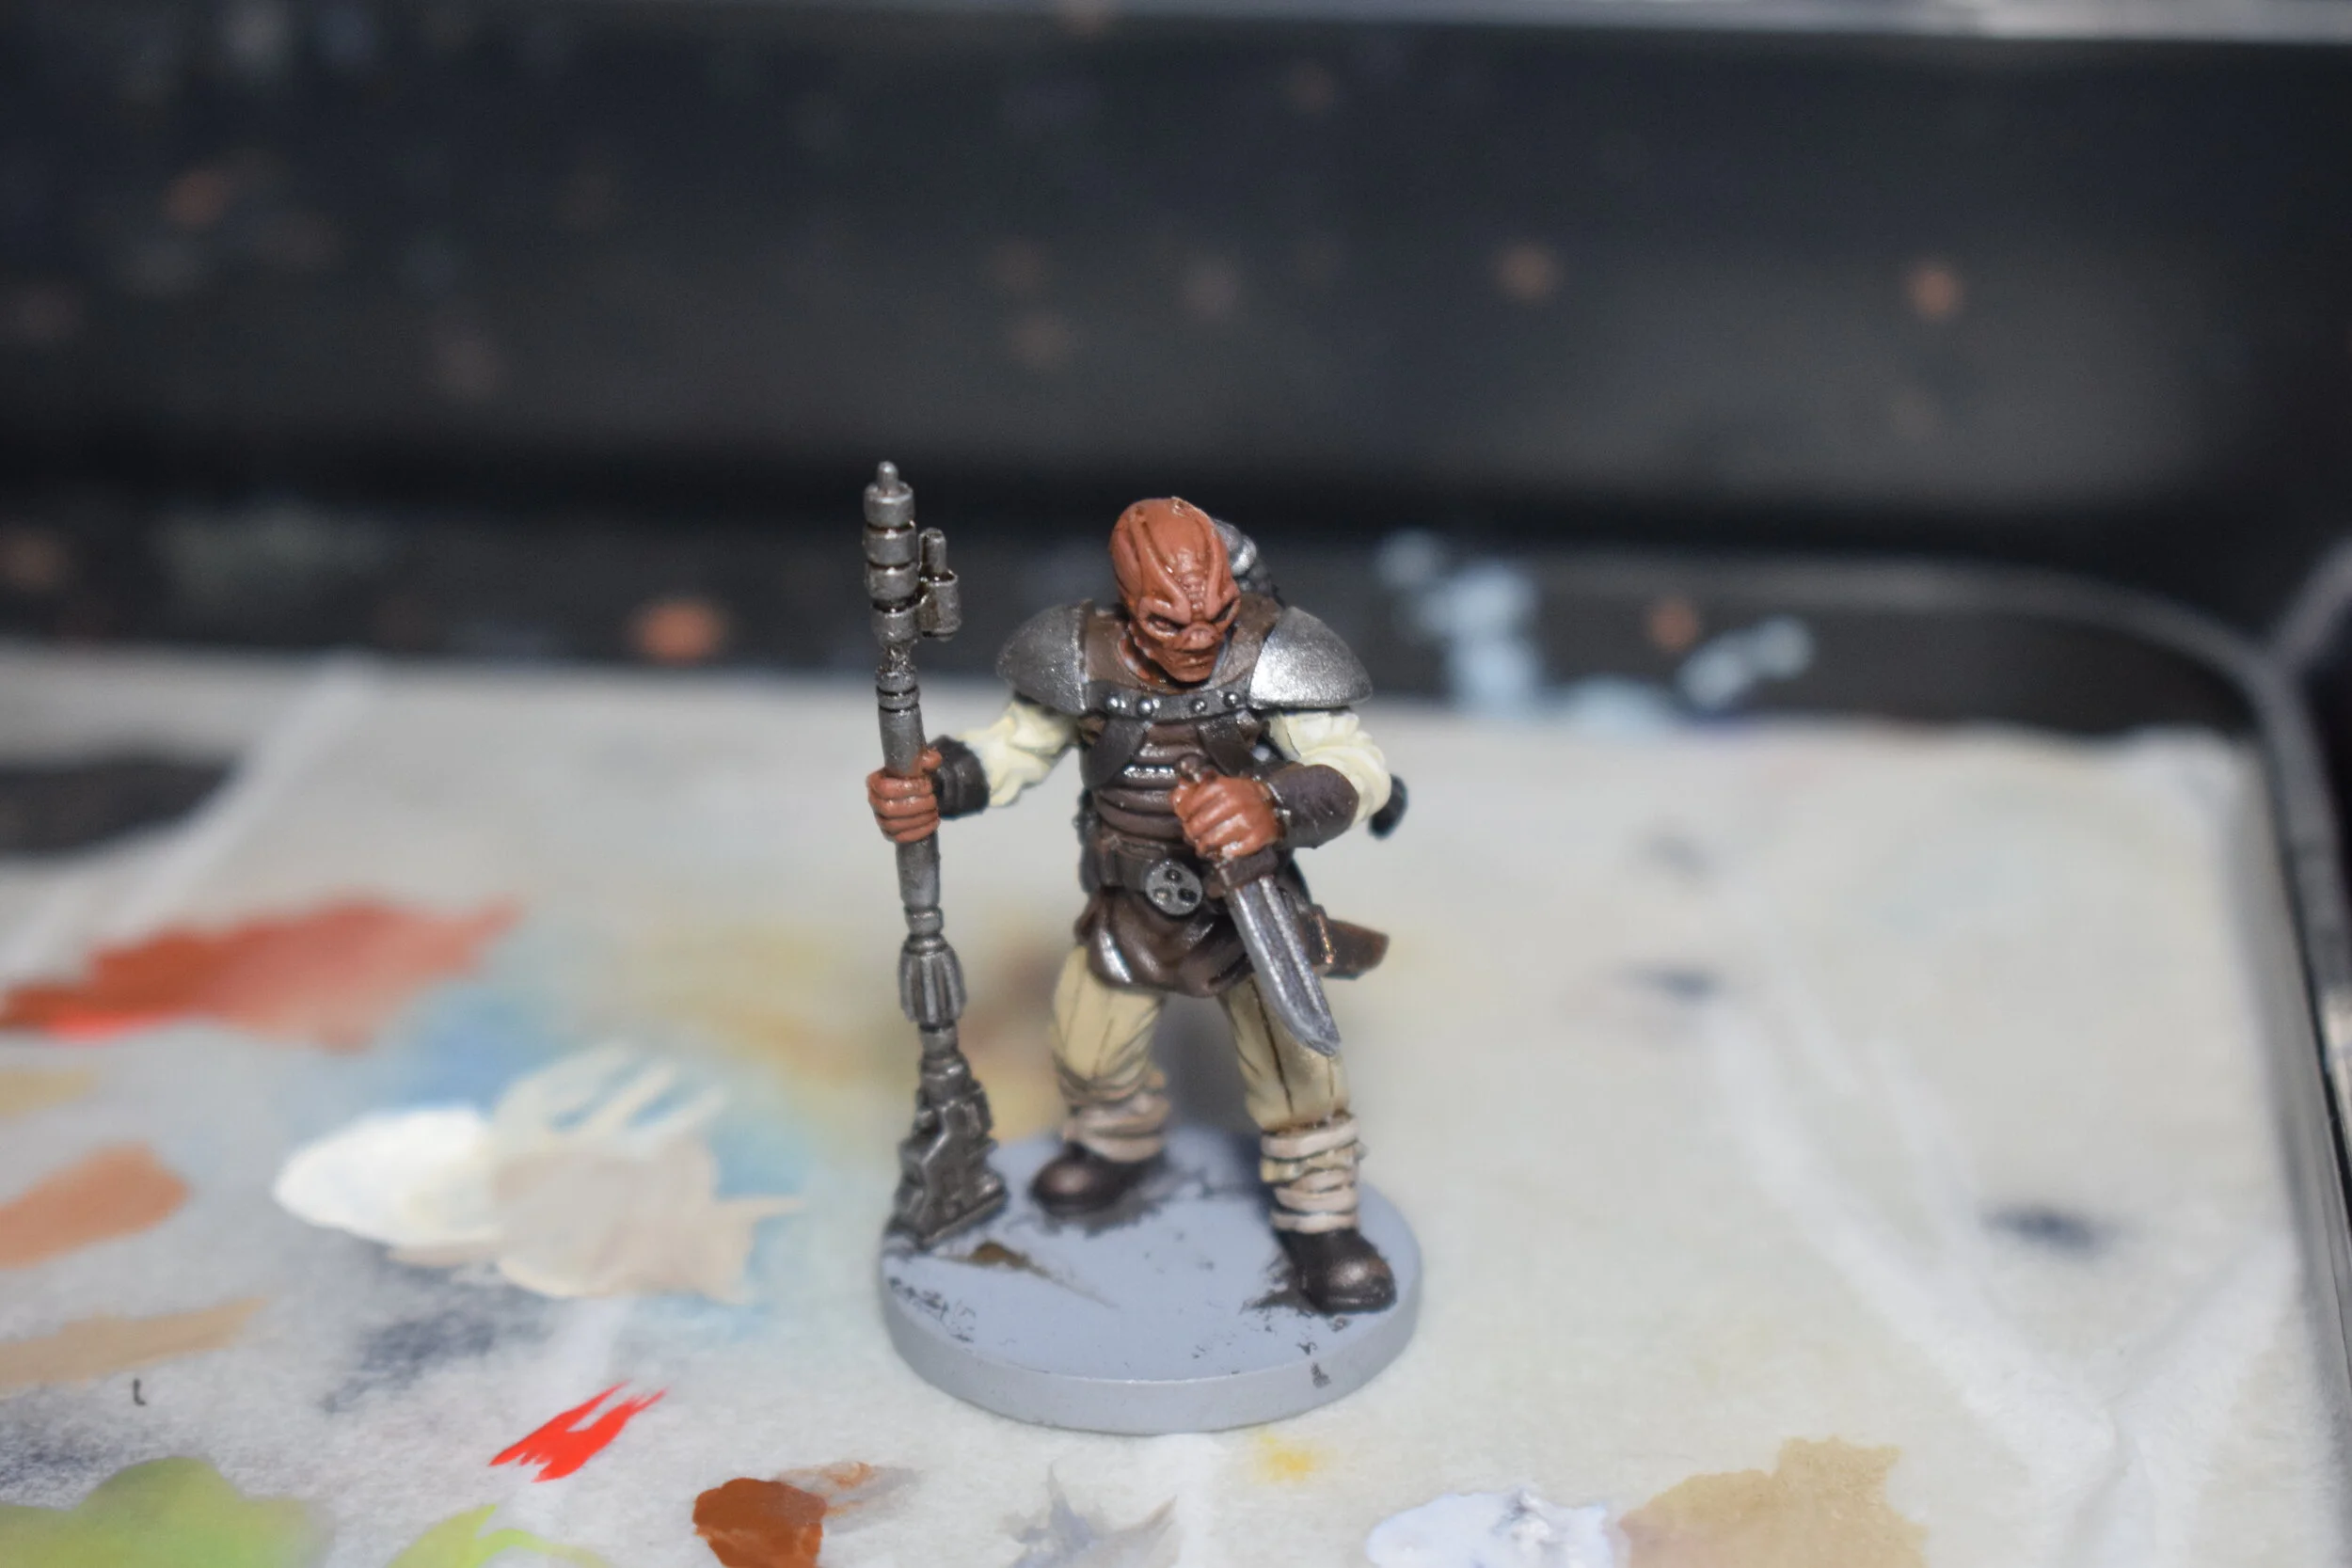
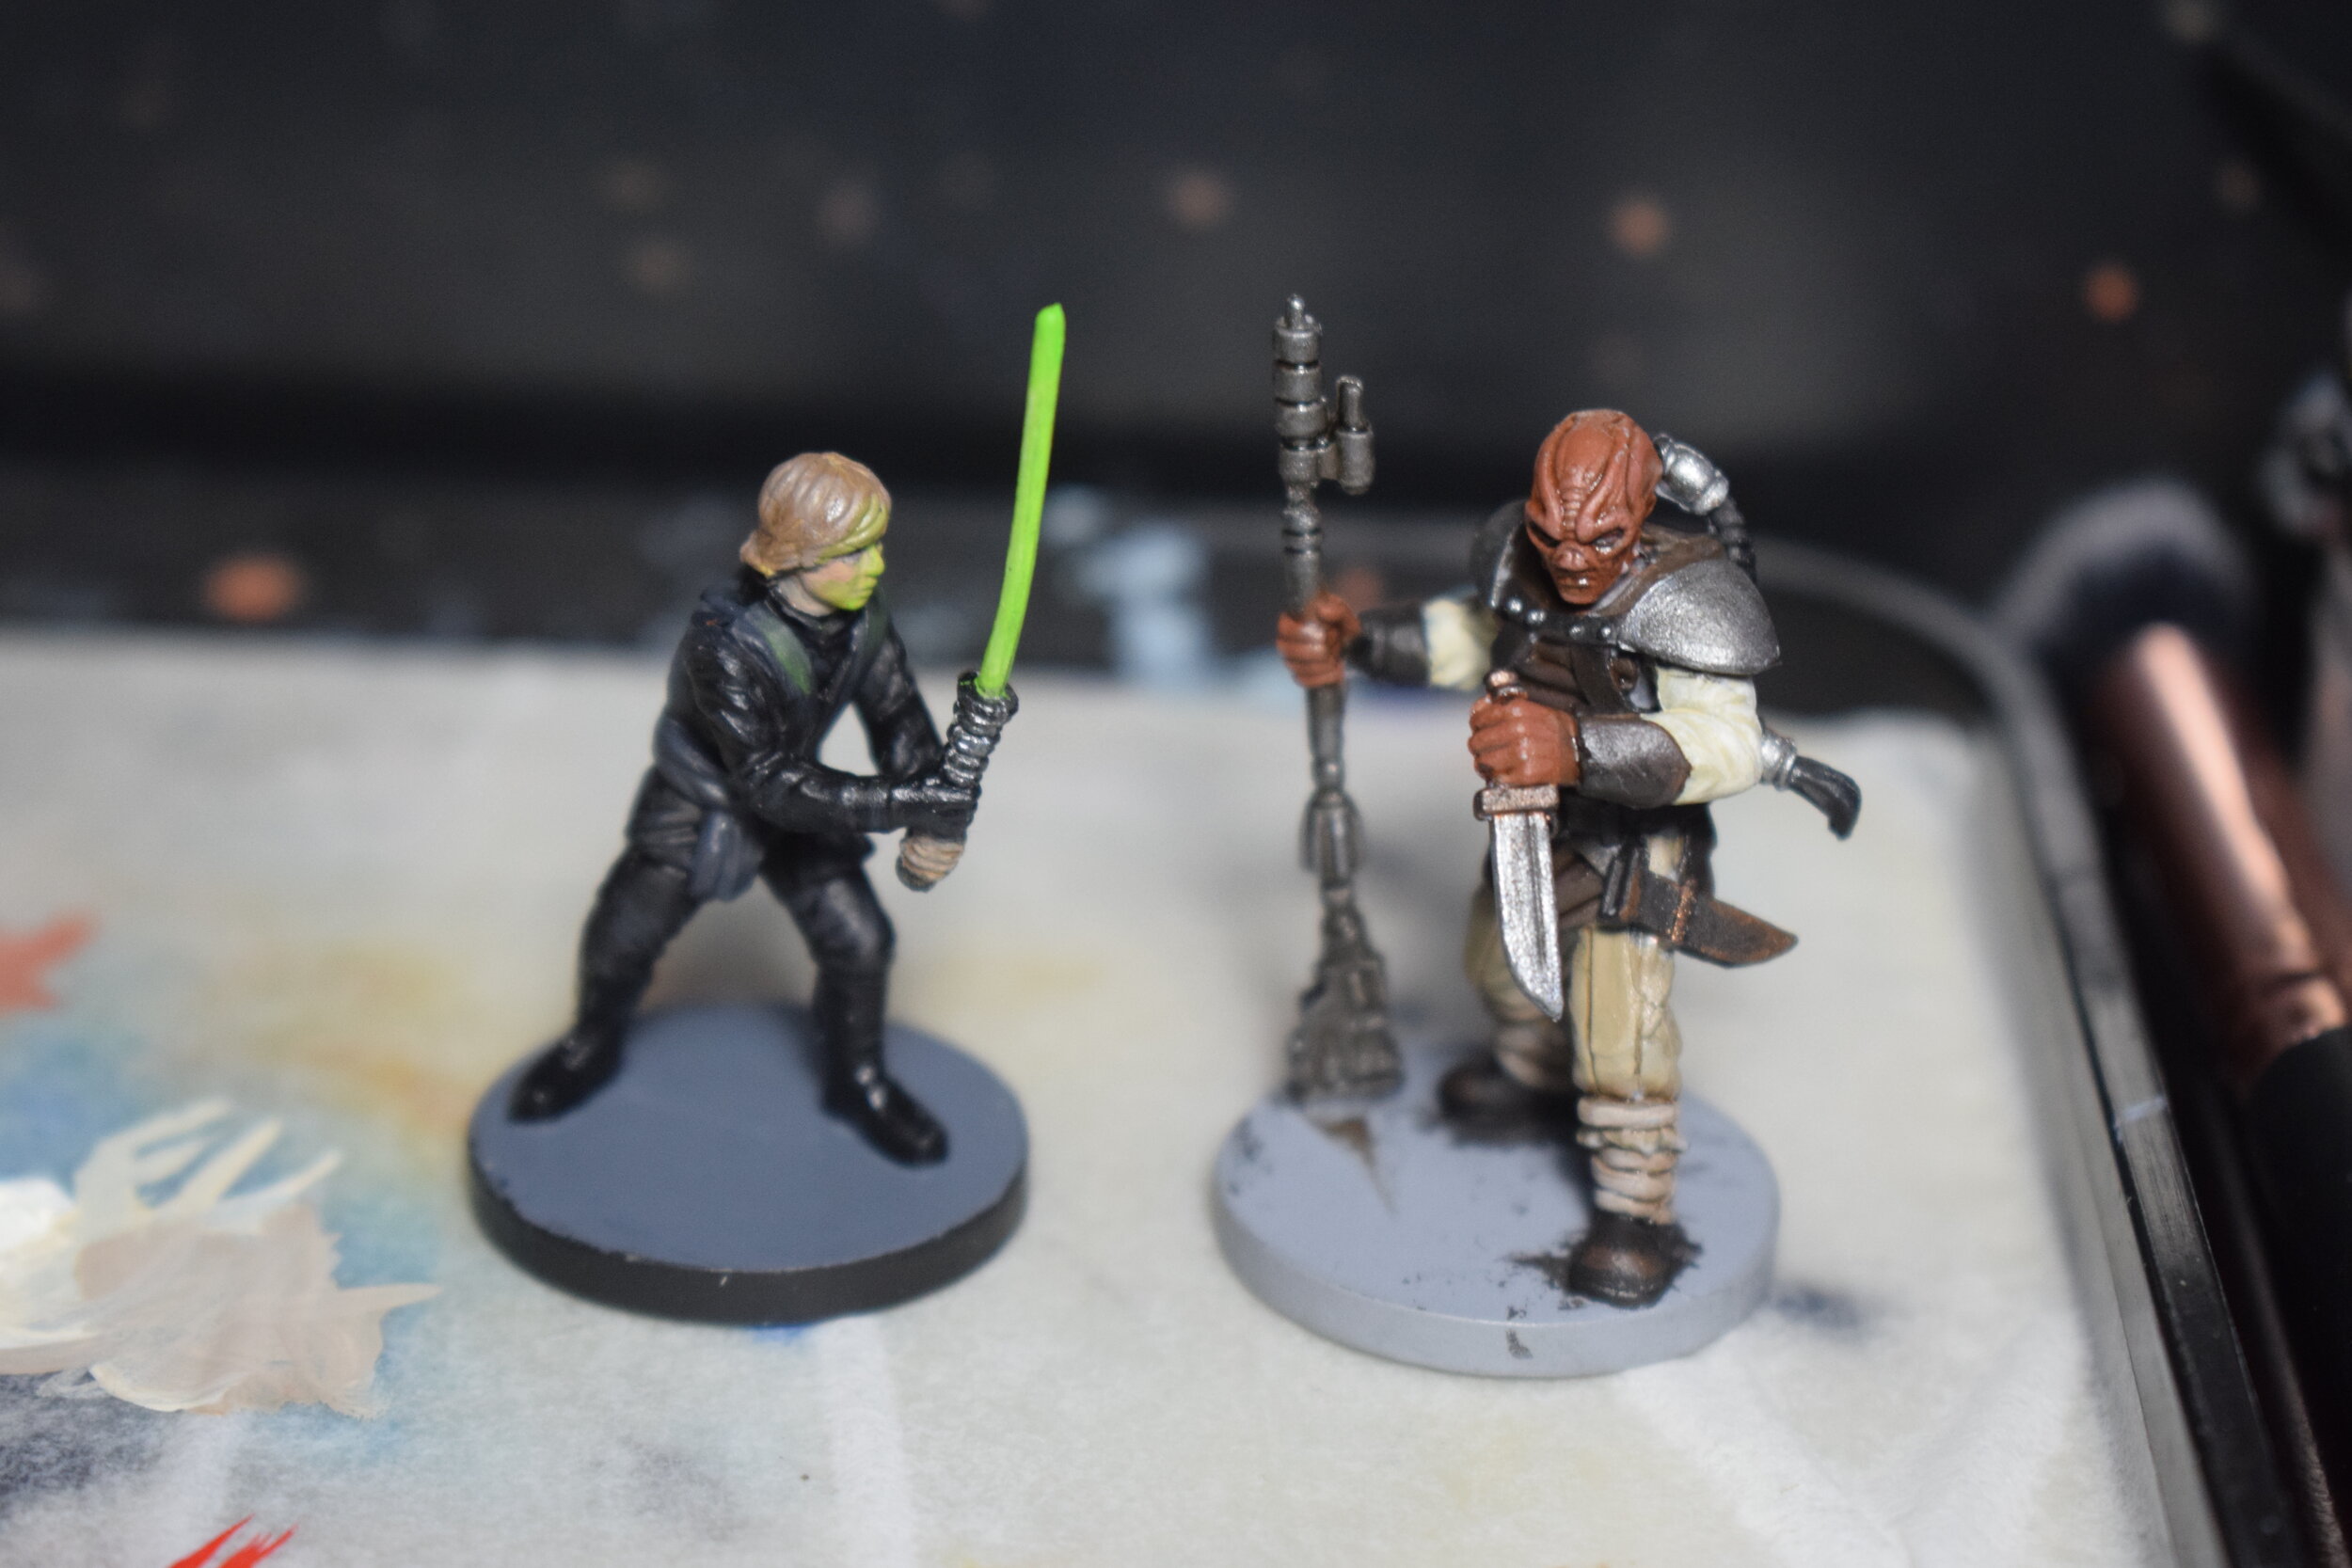
AS you can see, i haven’t really used a lot of paint for the most part . Black, where it was used as the base coat for Luke Skywalker, (you’ll see him later) and Grey for the base, the other one is Brown for the Weequay Pirates, you’ll see those later too!
Excess paint will also ruin your brush. Whenever you use your brush, make sure that you do not allow the paint to reach the ferrule (the metal bit between the bristles and the handle). If the paint dries in there, it will splay the bristles and destroy the brush. Brushes cost money, and you don't want to constantly have to replace brushes when you could be spending that money on more models!
Apply the paint to the model carefully, neatness is the key here. A neat model painted with basic colours will look much better than a messy one. You may need to apply two thin coats to get full coverage but this is fine. Take your time and apply carefully, speed will come with time, (or not if you are me - I paint dreadfully slowly). Clean your brush in a water pot between colours and let each coat dry before applying the next, wet blending is quite an advanced technique, which I won't be discussing in this article.
So you should now be at the stage where you have a nice base-coated model, with all colours applied. Basic but functional. What Games Workshop have termed 'Battle Ready'.
But I’m not looking for basic but functional. If you're interested in finding out how you can improve your paint job even more, with a few extra basic steps, we can definitely take it further. Keep reading.

Yeah my painting desk might be messy (i prefer the term ‘organised chaos’) but at least one of my water pots is always clean!
One of the most important things about miniature painting is contrast. We want the shadowed bits darker and the light bits lighter. The good news is this is quite easy to achieve with a basic wash and a highlight.
I'm going to take you through these steps now - firstly the wash. There are many washes commercially available, the exact one you should use will depend on the colour you are applying it over. There are flesh coloured washes, green washes, black washes for armour, an Agrax Earthshade wash will make any model look grubby and dirty and realistically soiled (if that is what you are after). The Army Painter makes dip washes that you can just coat the whole model in. I'm not a fan of this method or the shiny wood varnished finish it gives, but it is certainly a quick solution.
Once you have picked a Wash, apply it liberally. Again, you don't want to flood the model, but you do want to apply a decent amount of Wash. You want the wash to settle into the recesses on the model to provide the illusion of a shadow - if the Wash pools on surfaces, use the capillary action of a clean, dry brush to soak it up. Too much wash will result in a blotchy finish, you don’t want that.
Now you have a shaded model. At this stage, you have defined the model, and it should be looking pretty good, but we can make it look even better! How? By applying a simple highlight.
With a wash, we replicated the look of shadows in the recesses of the models. With a highlight, we are going to try to emulate the effect of light shining off the upper parts of the model.
The basis of this is to take a slightly lighter shade of the base colour and apply it to the upper and raised edges of the model that you are painting. Whether it be the edge of armour or the upper surfaces of muscles, if you look at anything in real life, you will see that it is composed of light and dark: contrast. That is the effect that will make a model look more realistic, and without using any techniques that are too involved, that is what we are going to try to emulate.
The main thing with highlighting is placement. If you put the highlights in places where there would naturally be a shadow, then it's going to look weird. You want to put the highlights where the light would typically land in real life - this is pretty easy to determine on things like Space Marines with their defined edges on the armour and shoulder pads, it is slightly harder on softer surfaces. If it is the edge of a panel or a corner or something, then you can easily use the edge of the brush for greater control, again, less paint is the main thing, especially at the highlight stage.

Now you know the recipe for my Genestealer Cult. Knowledge is power, use it wisely.
With the wash and highlight finished you are done! There is a basically painted model. Colours all applied neatly, looks great! The wash adds shade, and the highlights add contrast,
A quick word about Citadel Contrast paints. I haven't featured Contrast in here for one very simple reason. It doesn't form a large part of my paint strategy. Now that’s not to say that Contrast doesn’t have it’s uses. I use it for many different things, its great for painting black, my Imperial Assault Stormtrooper’s E-11 Blasters are just Black Templar. Job done.
Likewise for Space Marine chest eagles, contrast is great for anything with lots of detail where the paint can do its job and creep into the recesses while creeping away from the raised edges. Where I find Contrast DOESN’T work is for the ‘one thick coat’ basecoating approach that GW extolled at the time. For a start Contrast has a really shiny finish that I do not like, you get it with washes too sometimes but it’s much more manageable. Secondly, not all Contrast paints are equal, being of wildly varying consistency and opacity, therefore they are a valuable part of my toolbox but certainly not something I use all the time or on every model.
Another technique that some might feel is notable in its absence, especially given I featured it in the previous part is Drybrushing. There is a similar reason for this. I don’t really like the finish it gives, being the opposite of contrast and very dusty and chalky. I will occasionally use overbrushing (a more controlled version of overbrushing) on fur or chainmail armour, but drybrushing a whole model to apply highlights super quick is a compromise on finish and quality that I am just not prepared to make.
Of course, both the above points are just my take, there are loads of guides for both Contrast and Drybrushing available in various media so feel free to check them out. They just don’t work for me apart from select circumstances. If you would like me to cover them in an article let me know and, ill see what I can do.

Chest Eagles. Ideal for Contrast. Averland Sunset, Vallejo Sand Yellow Highlight and then Nazdreg Yellow Contrast in case you were wondering. Super easy. Barely an inconvenience.
So that’s the model all painted, great result! I guess all that’s left is the base… oh.
That’s right, I'd forgotten about that. That would mark the real completion of a model. Maybe I should do one more article on basing...

