
Lockdown Hobby: Back to Basics Part 2: Time to Prime
Hello again, welcome back to another part of my guide to assembling and painting miniatures. If you followed part one (Back to basics. Pt 1: Assembly), then you should have your fully assembled model already.
Alternatively, if you are anything like me, you already have a pile of assembled and unpainted models waiting and languishing in their bare plastic status.
So, on to the painting!
Remember this is a "basic" guide, but I'll be including some of the tips I have picked up in my 25+ years in the hobby, let me know if you find them helpful!
Priming your model.
Now, you don't HAVE to prime (undercoat) your figures. You can technically paint straight onto the bare plastic. However, painting onto bare plastic is difficult and requires several coats.
Spray Primer gives you a nice smooth and adherent surface to apply the paint to and will vastly speed up the painting process, just make sure you always use it in a ventilated area as the aerosol will produce chemical fumes.
Whichever spray you choose to use, spray outside and at a distance of about 30cm. Use a sweep motion and use several passes to coat the model rather than holding the spray over it and risk applying too much paint, obscuring the detail.
Also, it should go without saying, make sure you spray on something unimportant. I use an old grocery box with the low sides so I can get to all sides of the model - it has so many coats of paint on it, it's like Kevlar by this point!

My trusty spray box, you can even see the silhouettes of the sprayed models!
Many companies such as Army Painter now also offer coloured spray paints so an undercoat can also serve as a base coat, saving you even more time. Colours are colours and speak for themselves (note if your coloured spray cans are actually talking to you then you probably don't have enough ventilation!) but let's have a look at the pros and cons of the three basic options:
Priming with Black:
Pros: Automatically provides shadows in the recesses and can give a more natural look to your painting - Black tends to be the easiest to paint over (the path to the dark side is always quicker).
Cons: Sometimes, Black can result in a muddy and dark looking model that fails to POP and stand out - a problem that I repeatedly experienced for some time. Therefore, if you're priming your model with Black, it is vital to choose a solid basecoat as well. Washes are not as effective over Black. It can also be difficult sometimes to pick out the details in the model when everything is black.

Darth Vader. If you sprayed him any colour other than Black he’s Force Choke you, and you don’t want to be Force Choked do you?
Priming with White:
Pros: White will give you a lovely vibrant base to paint over, resulting in a bright model. White also works very well with washes which will provide depth and contrast (we'll touch on washes in just a moment, keep an eye out for my Top Tips!)
Cons: If you want a more natural look, White may not be for you, colours tend to end up looking very bright if you prime a model with White. Priming with White also tends to end up being more time-intensive as you have to make sure you paint all of the recesses, and it doesn't naturally create shadows either, unlike Black.

This Storm Trooper is naturally sprayed White as that will be the primary colour. I’ll hit it with a very thin dark wash to thin the lines later.
Priming with Grey:
Pros: Grey is an excellent, comfortable option for most people. It's mid-range; painting results when priming with Grey, end up not too bright and not too dark. Its the spray that Goldilocks would pick. Anything you paint over a Grey undercoat will, by its very nature, be neutral. It is also easy to shade, just like White
Cons: Similarly to White, using Grey as your primer will also require you to be very thorough with your base coat as it doesn't pre-shade.
Underbasecoating:
See those brilliant Al’s Top Tips above? OK we are going to have a look at that in a bit more detail now. I admit I made up the term ‘underbasecoating’ but I think it will catch on! With this step, we can mitigate a lot of the ‘cons’ that I listed above. Think of it as a final preparatory phase before we start applying coats of colour to the model. They use two techniques that are very easy. Drybrushing and Washes.
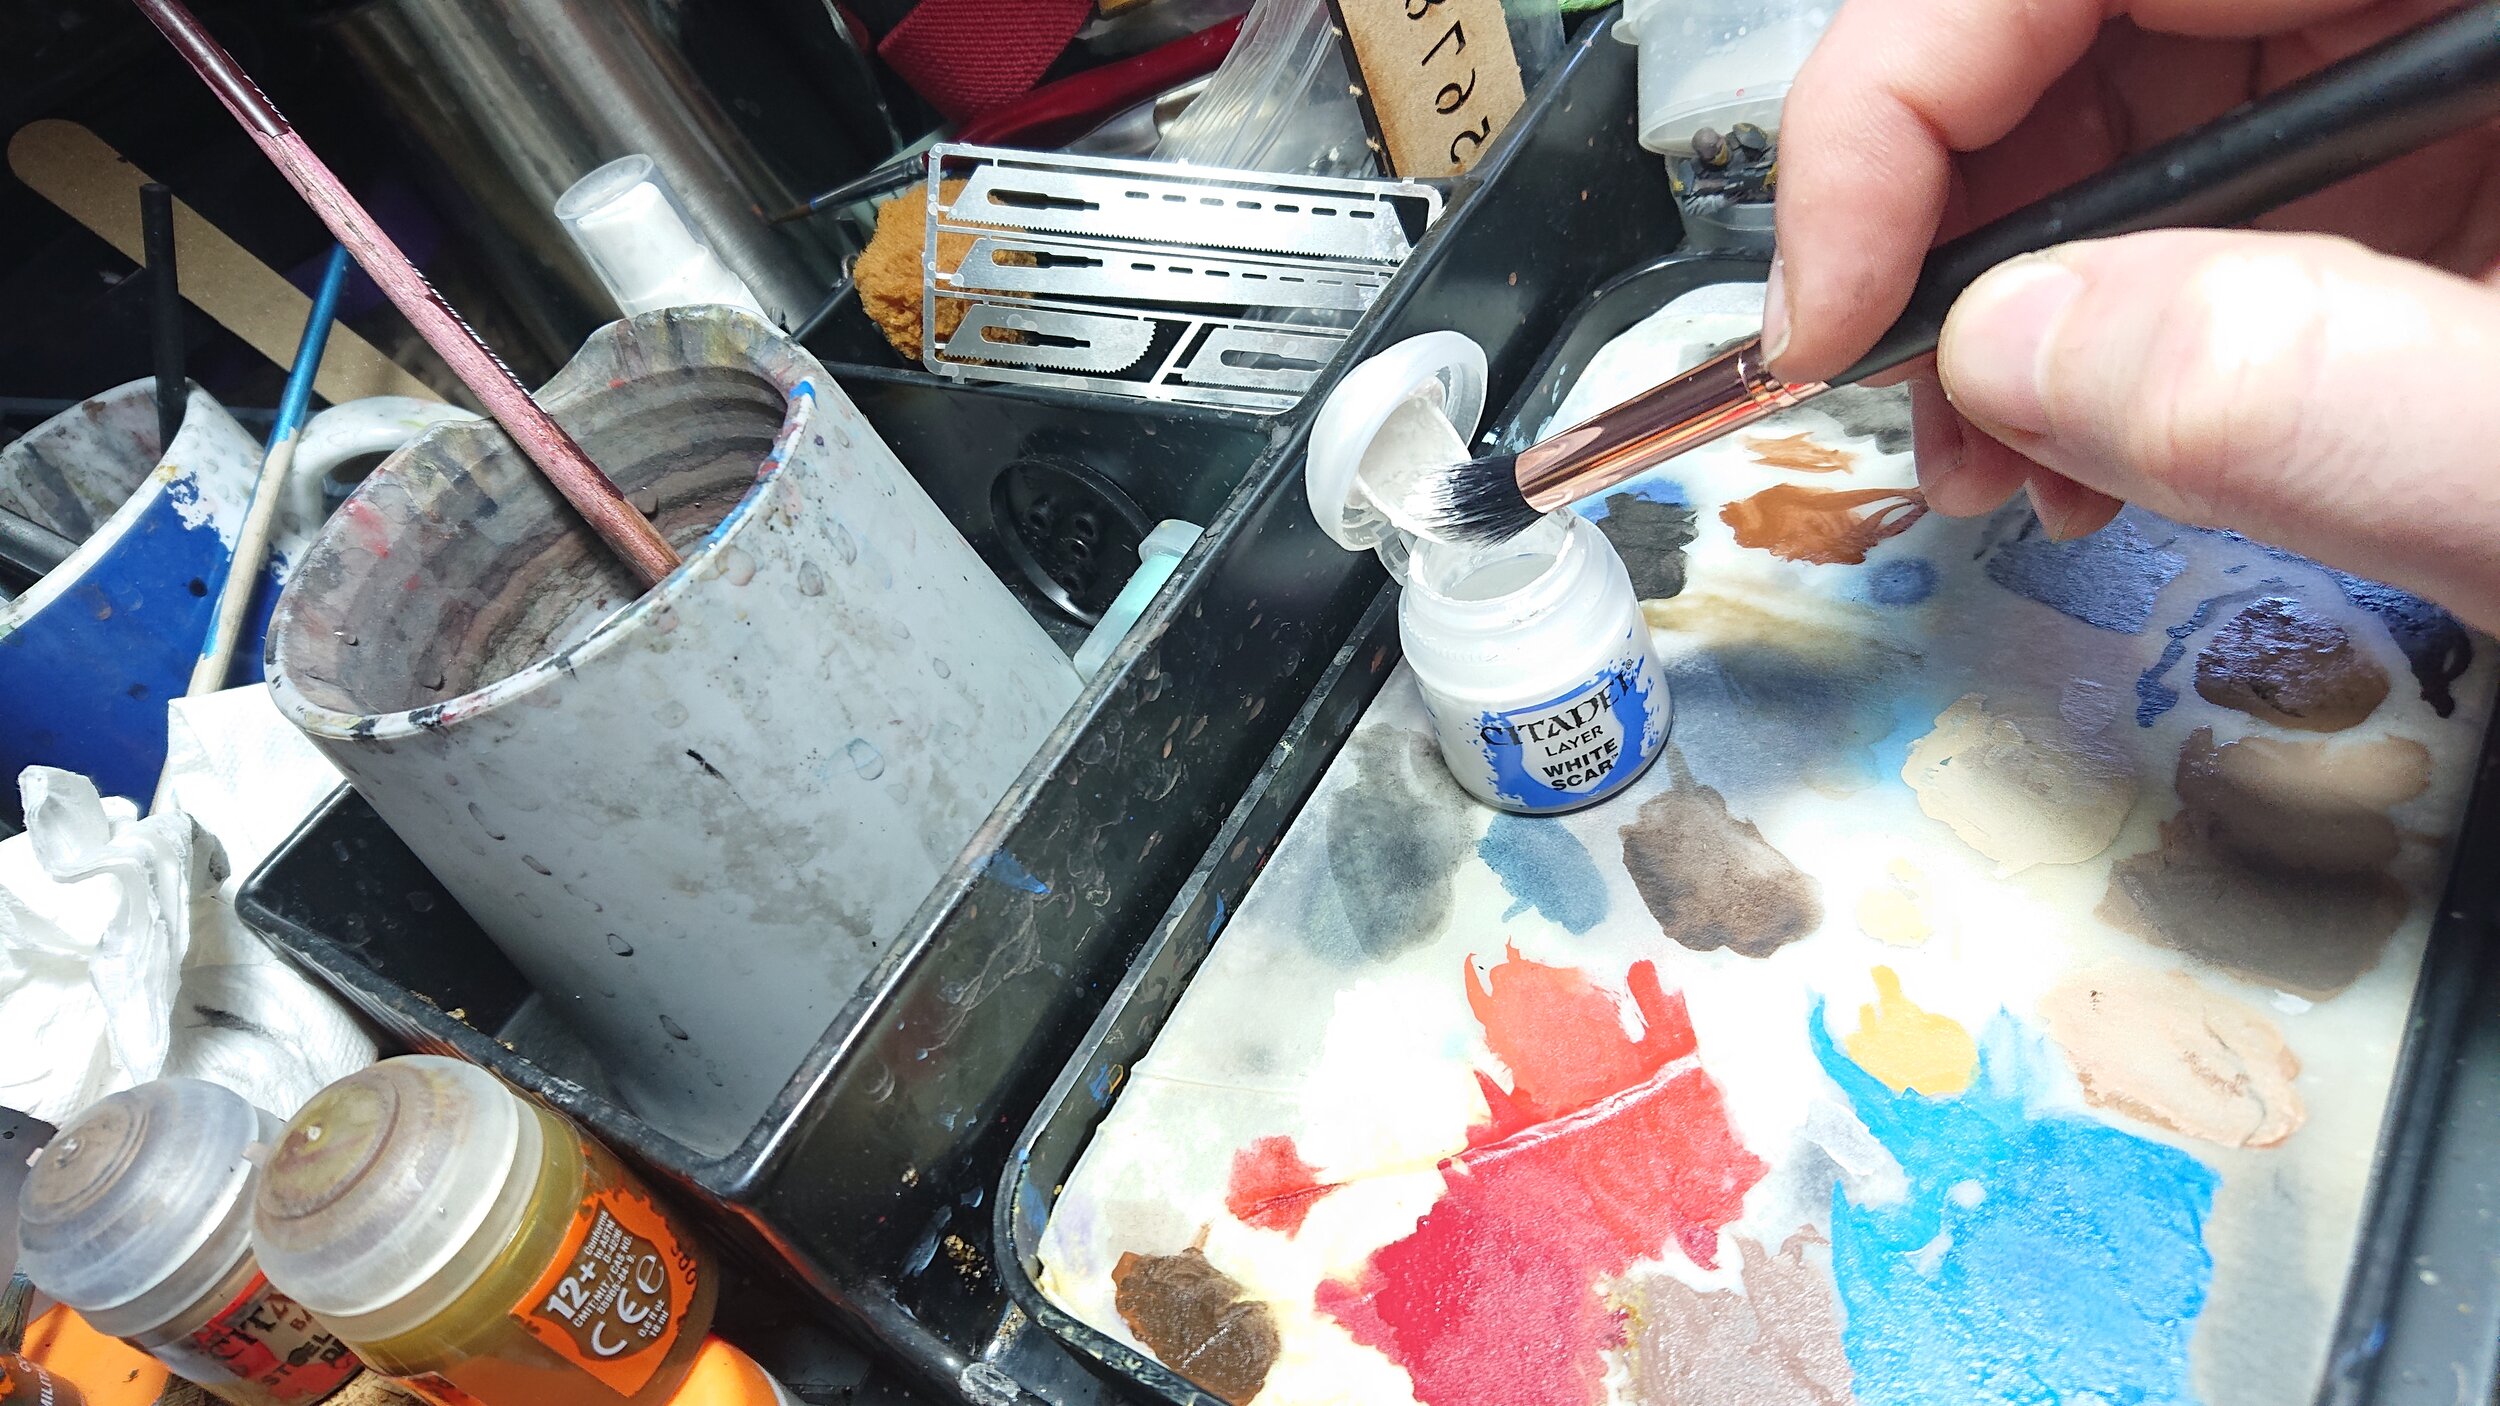
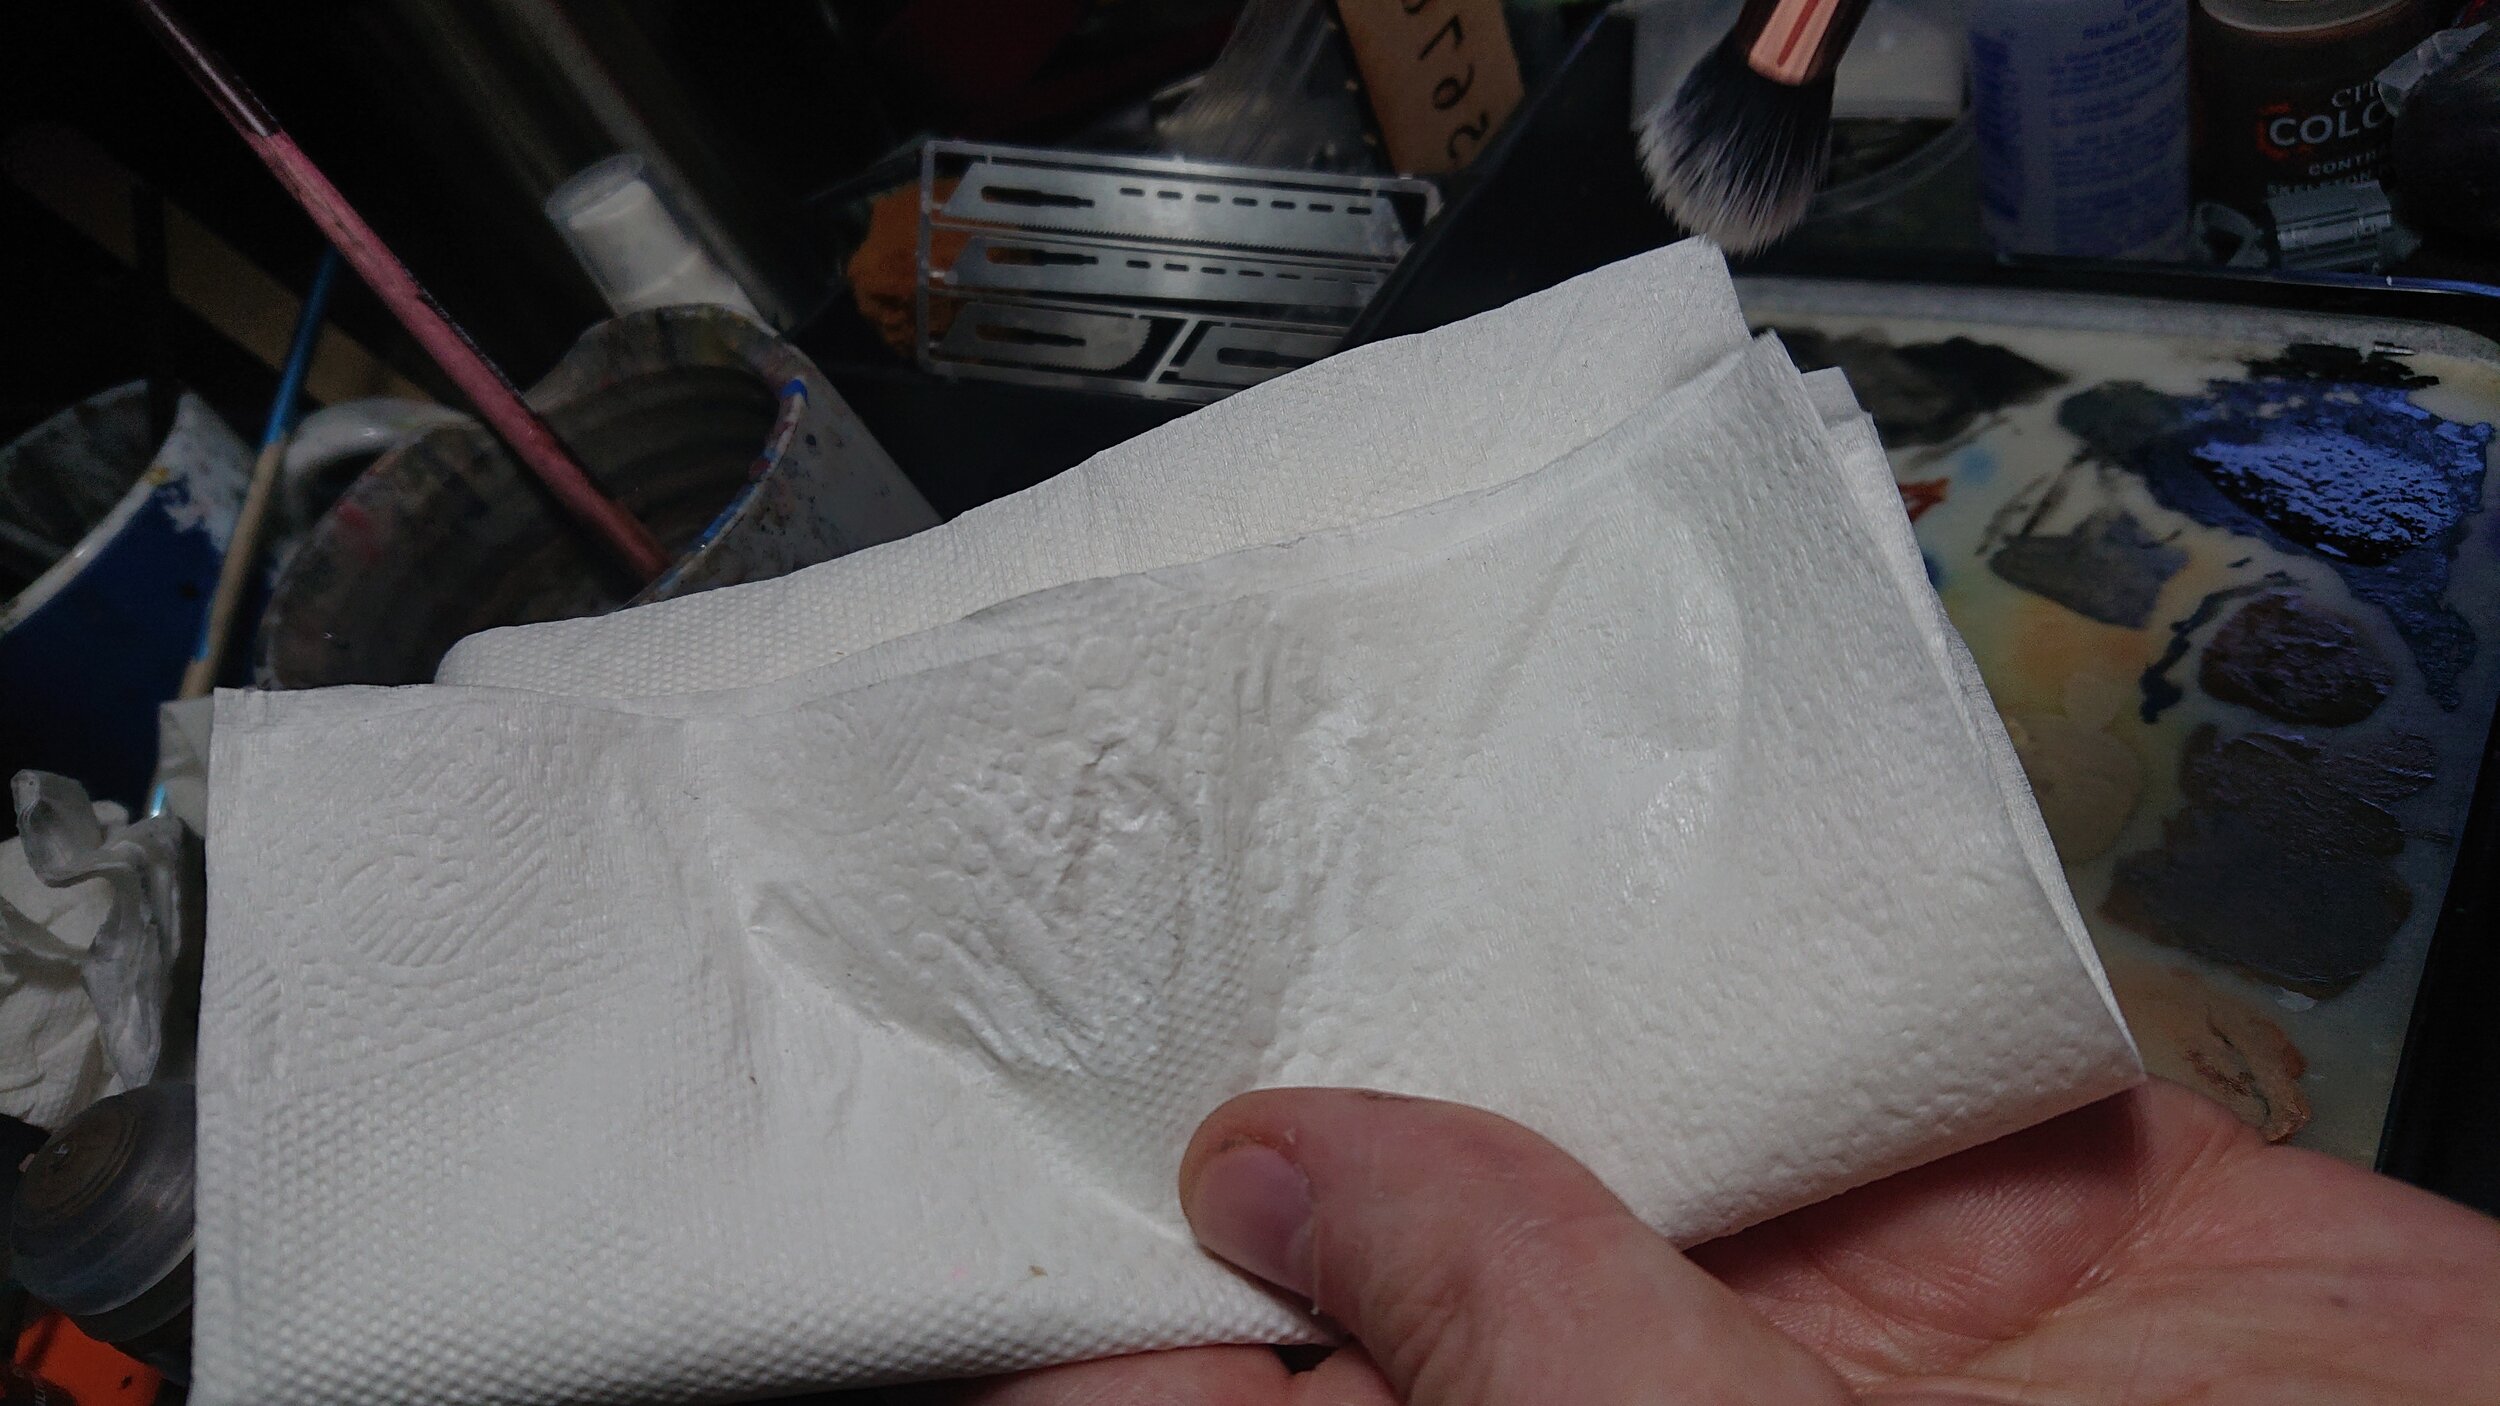
What is 'Drybrushing?' Well, it's easy. You get a brush and dip it in some paint and then wipe the vast majority of it off. First, wipe the paintbrush on the pot rim (so you save some paint) and then on to some tissue paper. Keep wiping the paint off until only the faintest traces remain on the tissue. As you wipe the brush on the paper work the paint into the bristles. Note that this can be quite harsh on a brush so don’t use your best kolinsky sable!
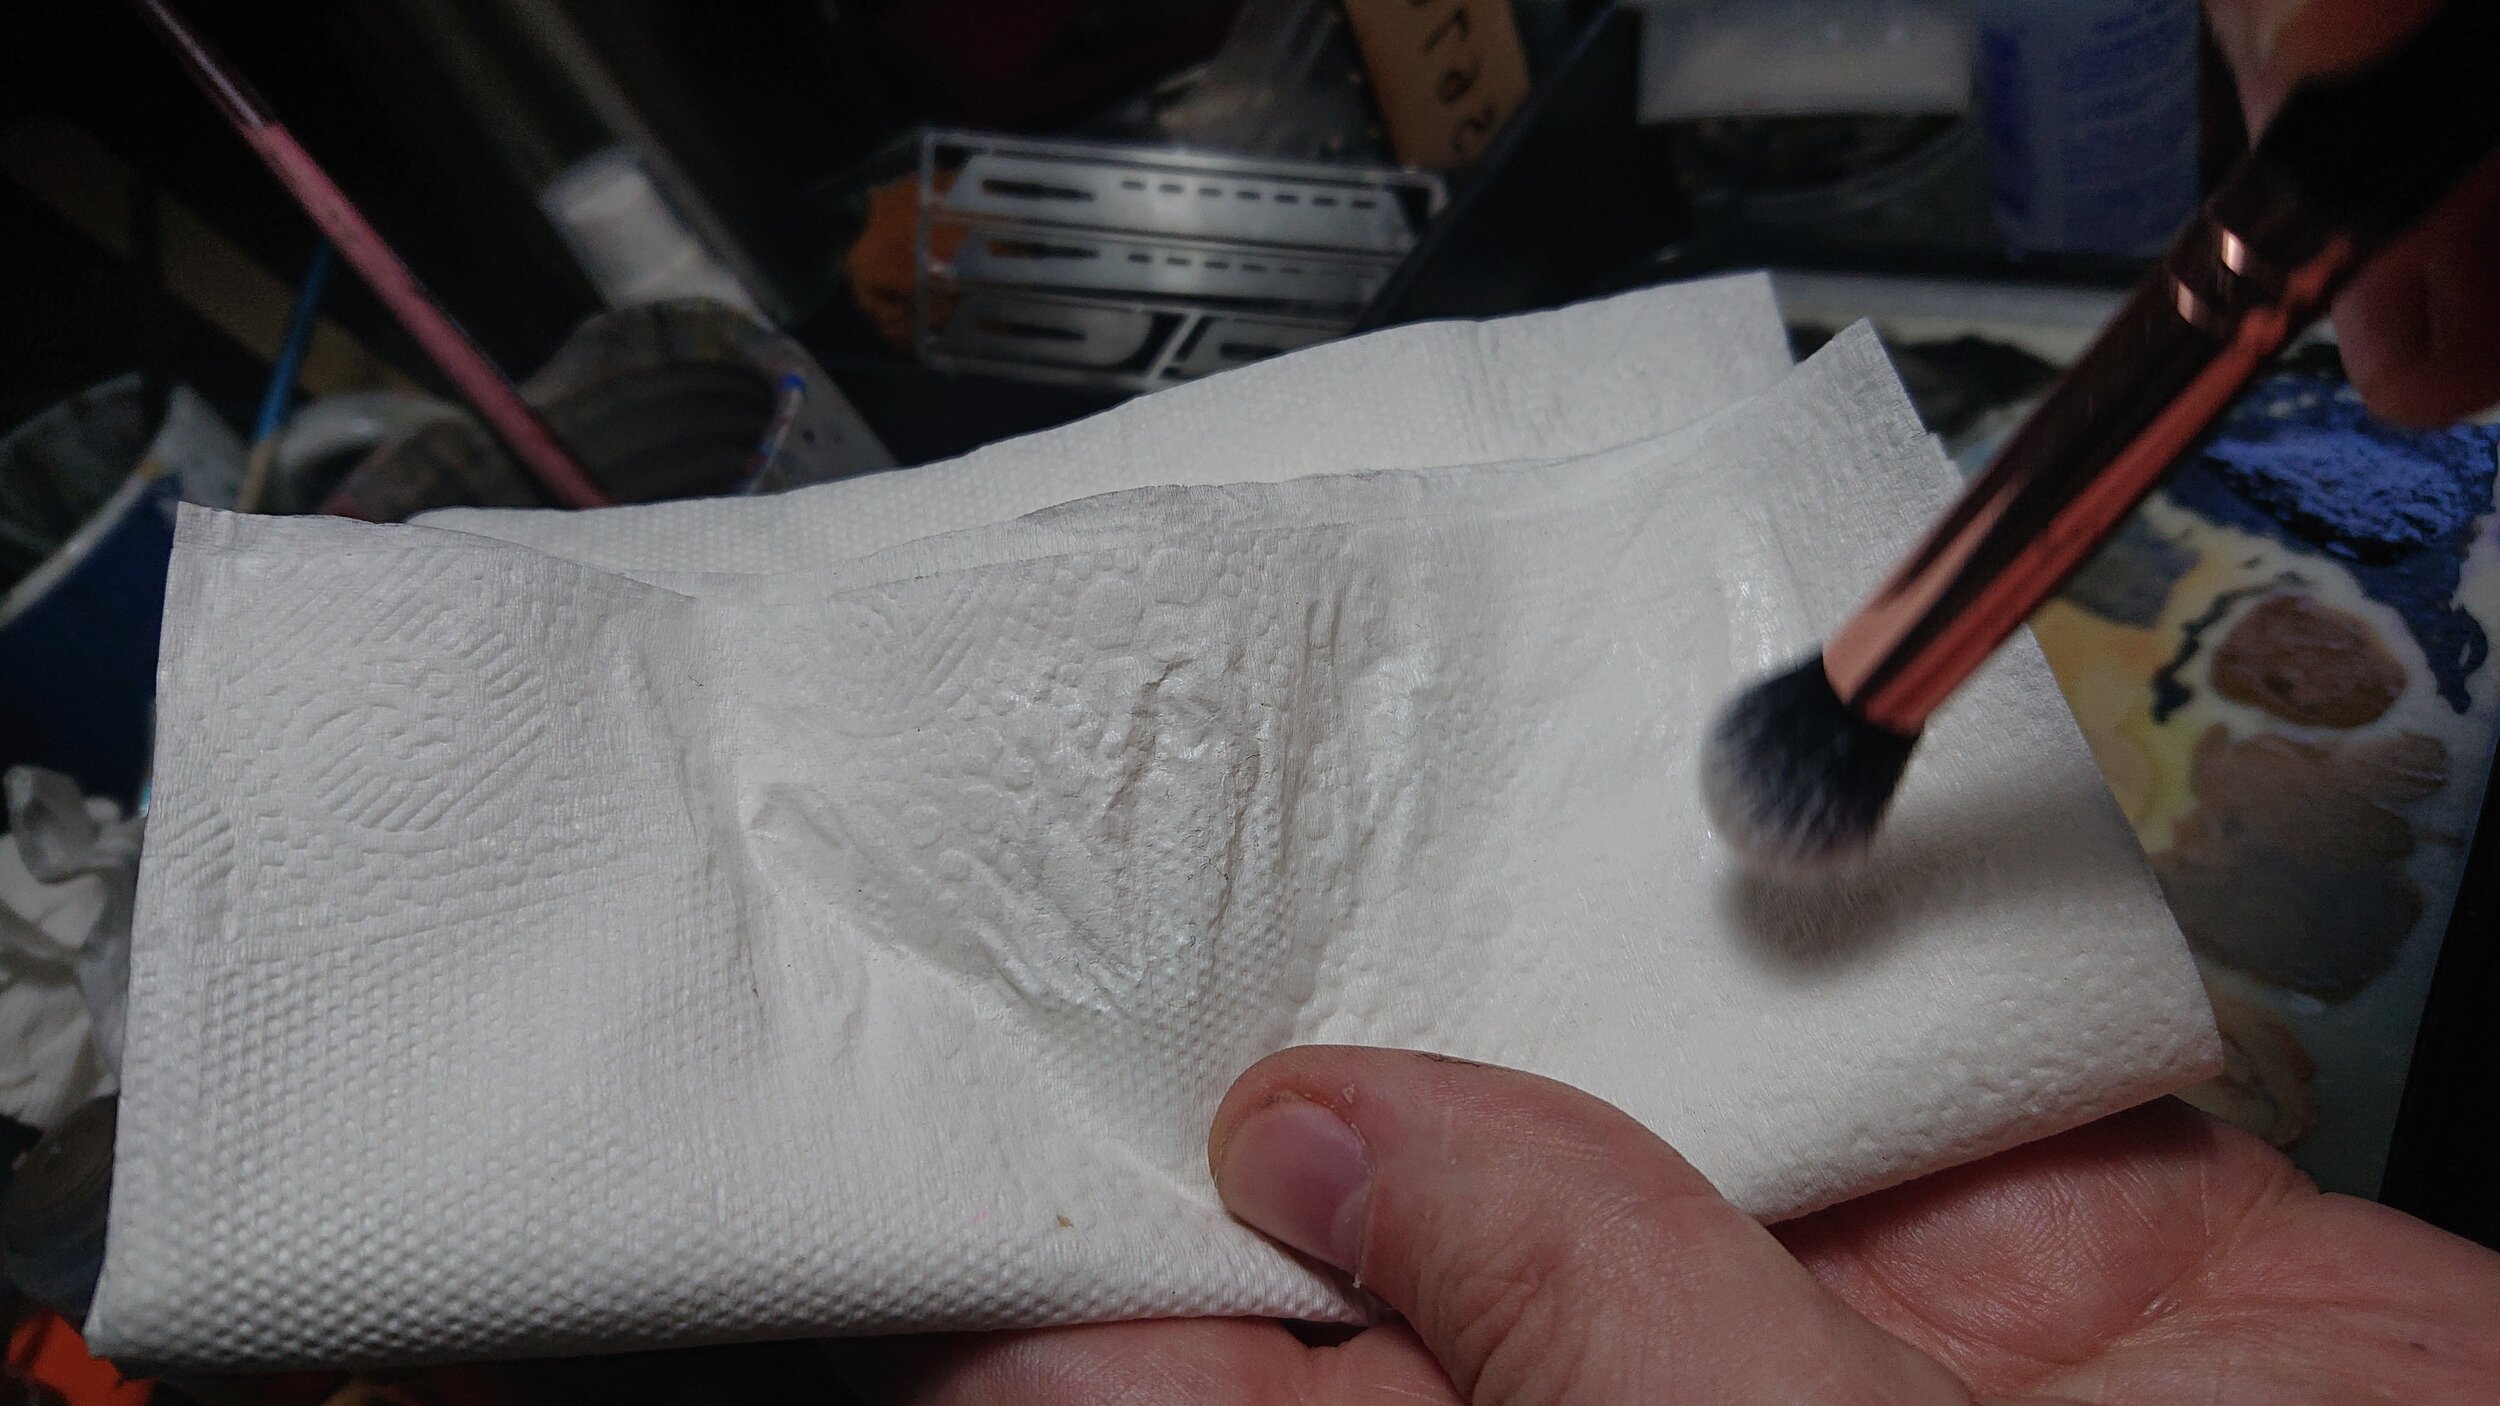
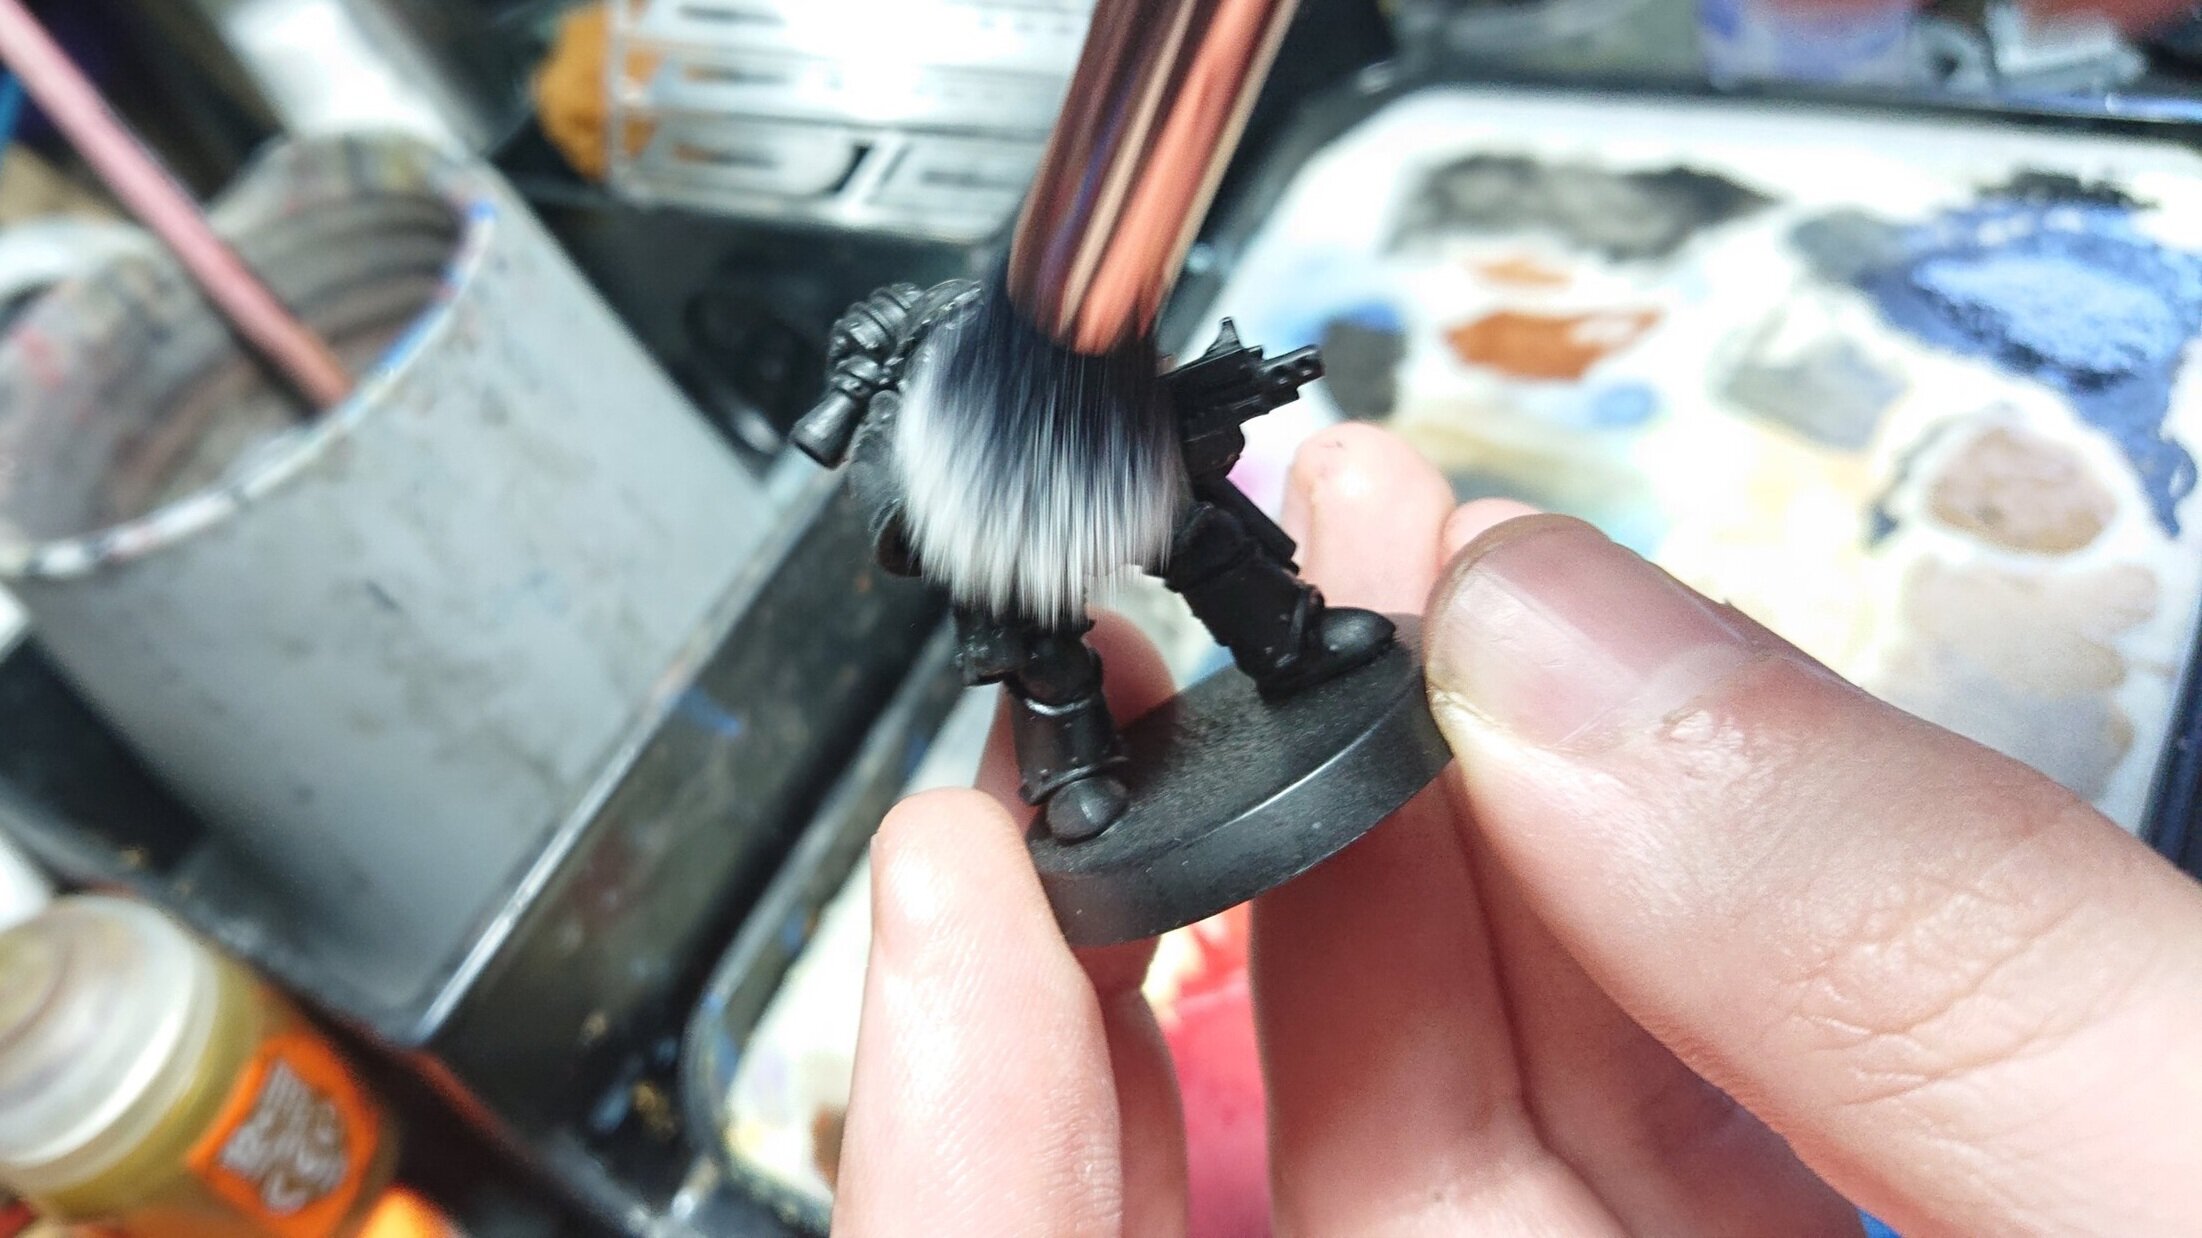
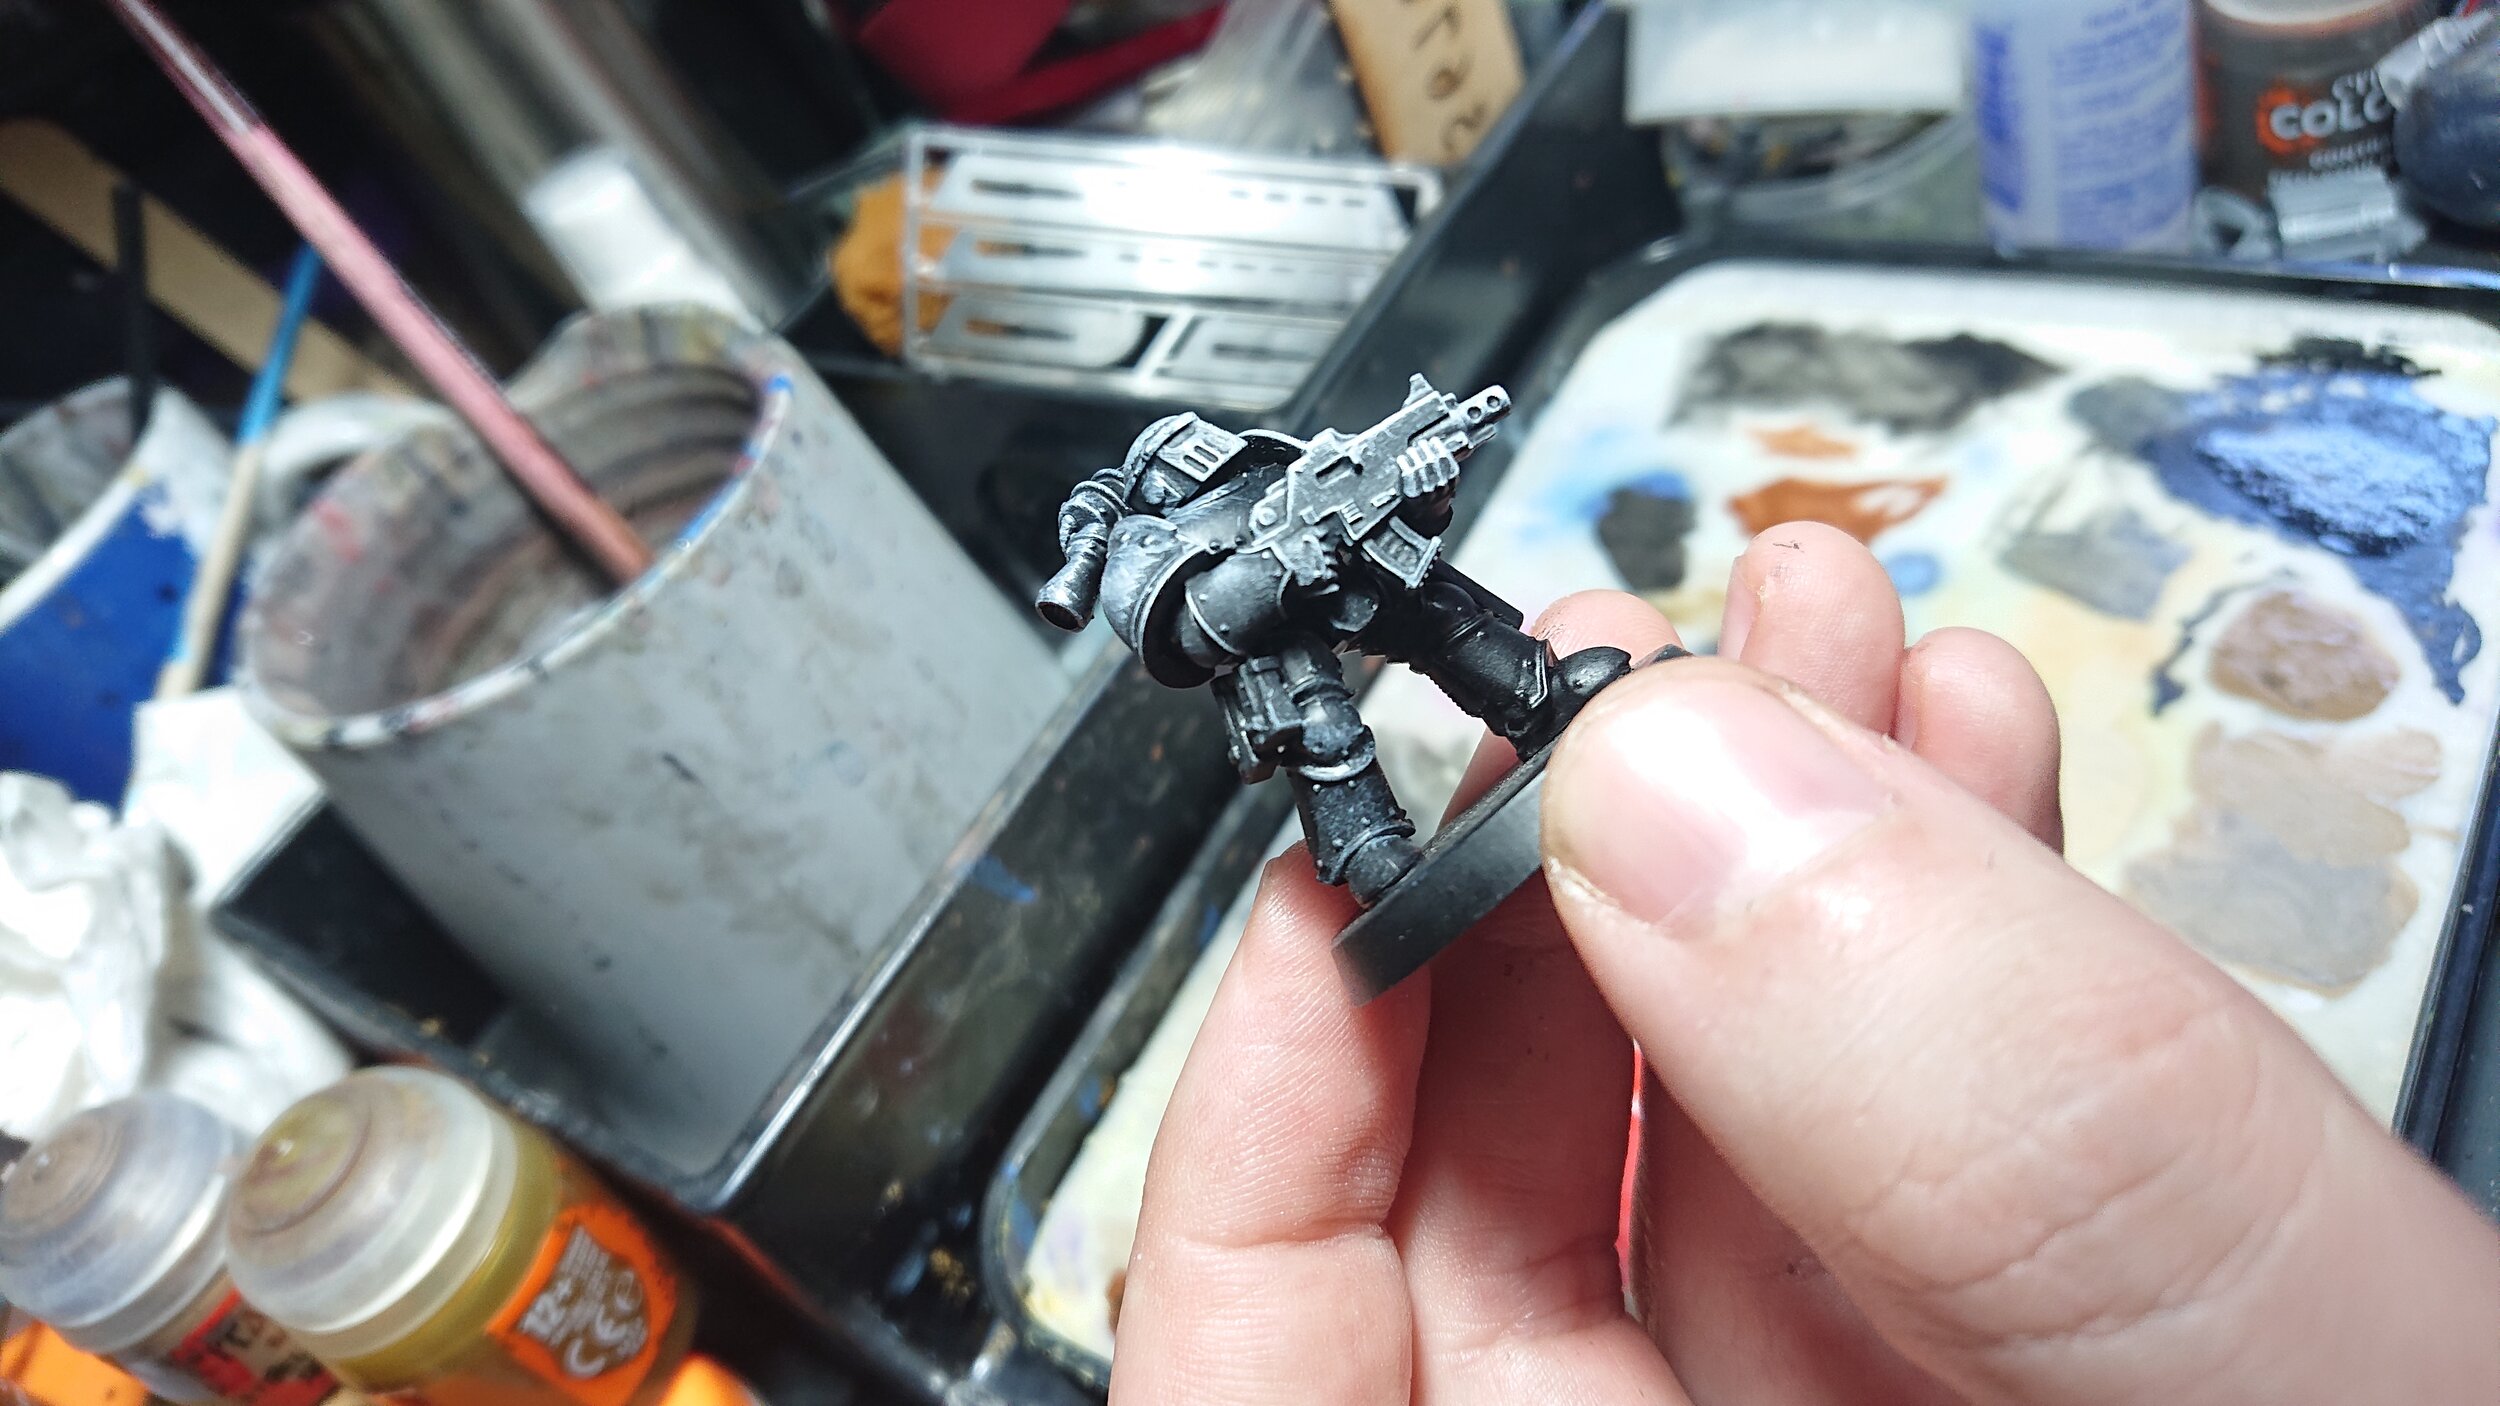
Then get the brush and rapidly move it back and forth over the miniature. The traces of paint caught in the bristles will transfer on to the model but only to the most raised surfaces, leaving all your shadows black and providing some light on raised surfaces. It also shows up all the lovely details on the model.
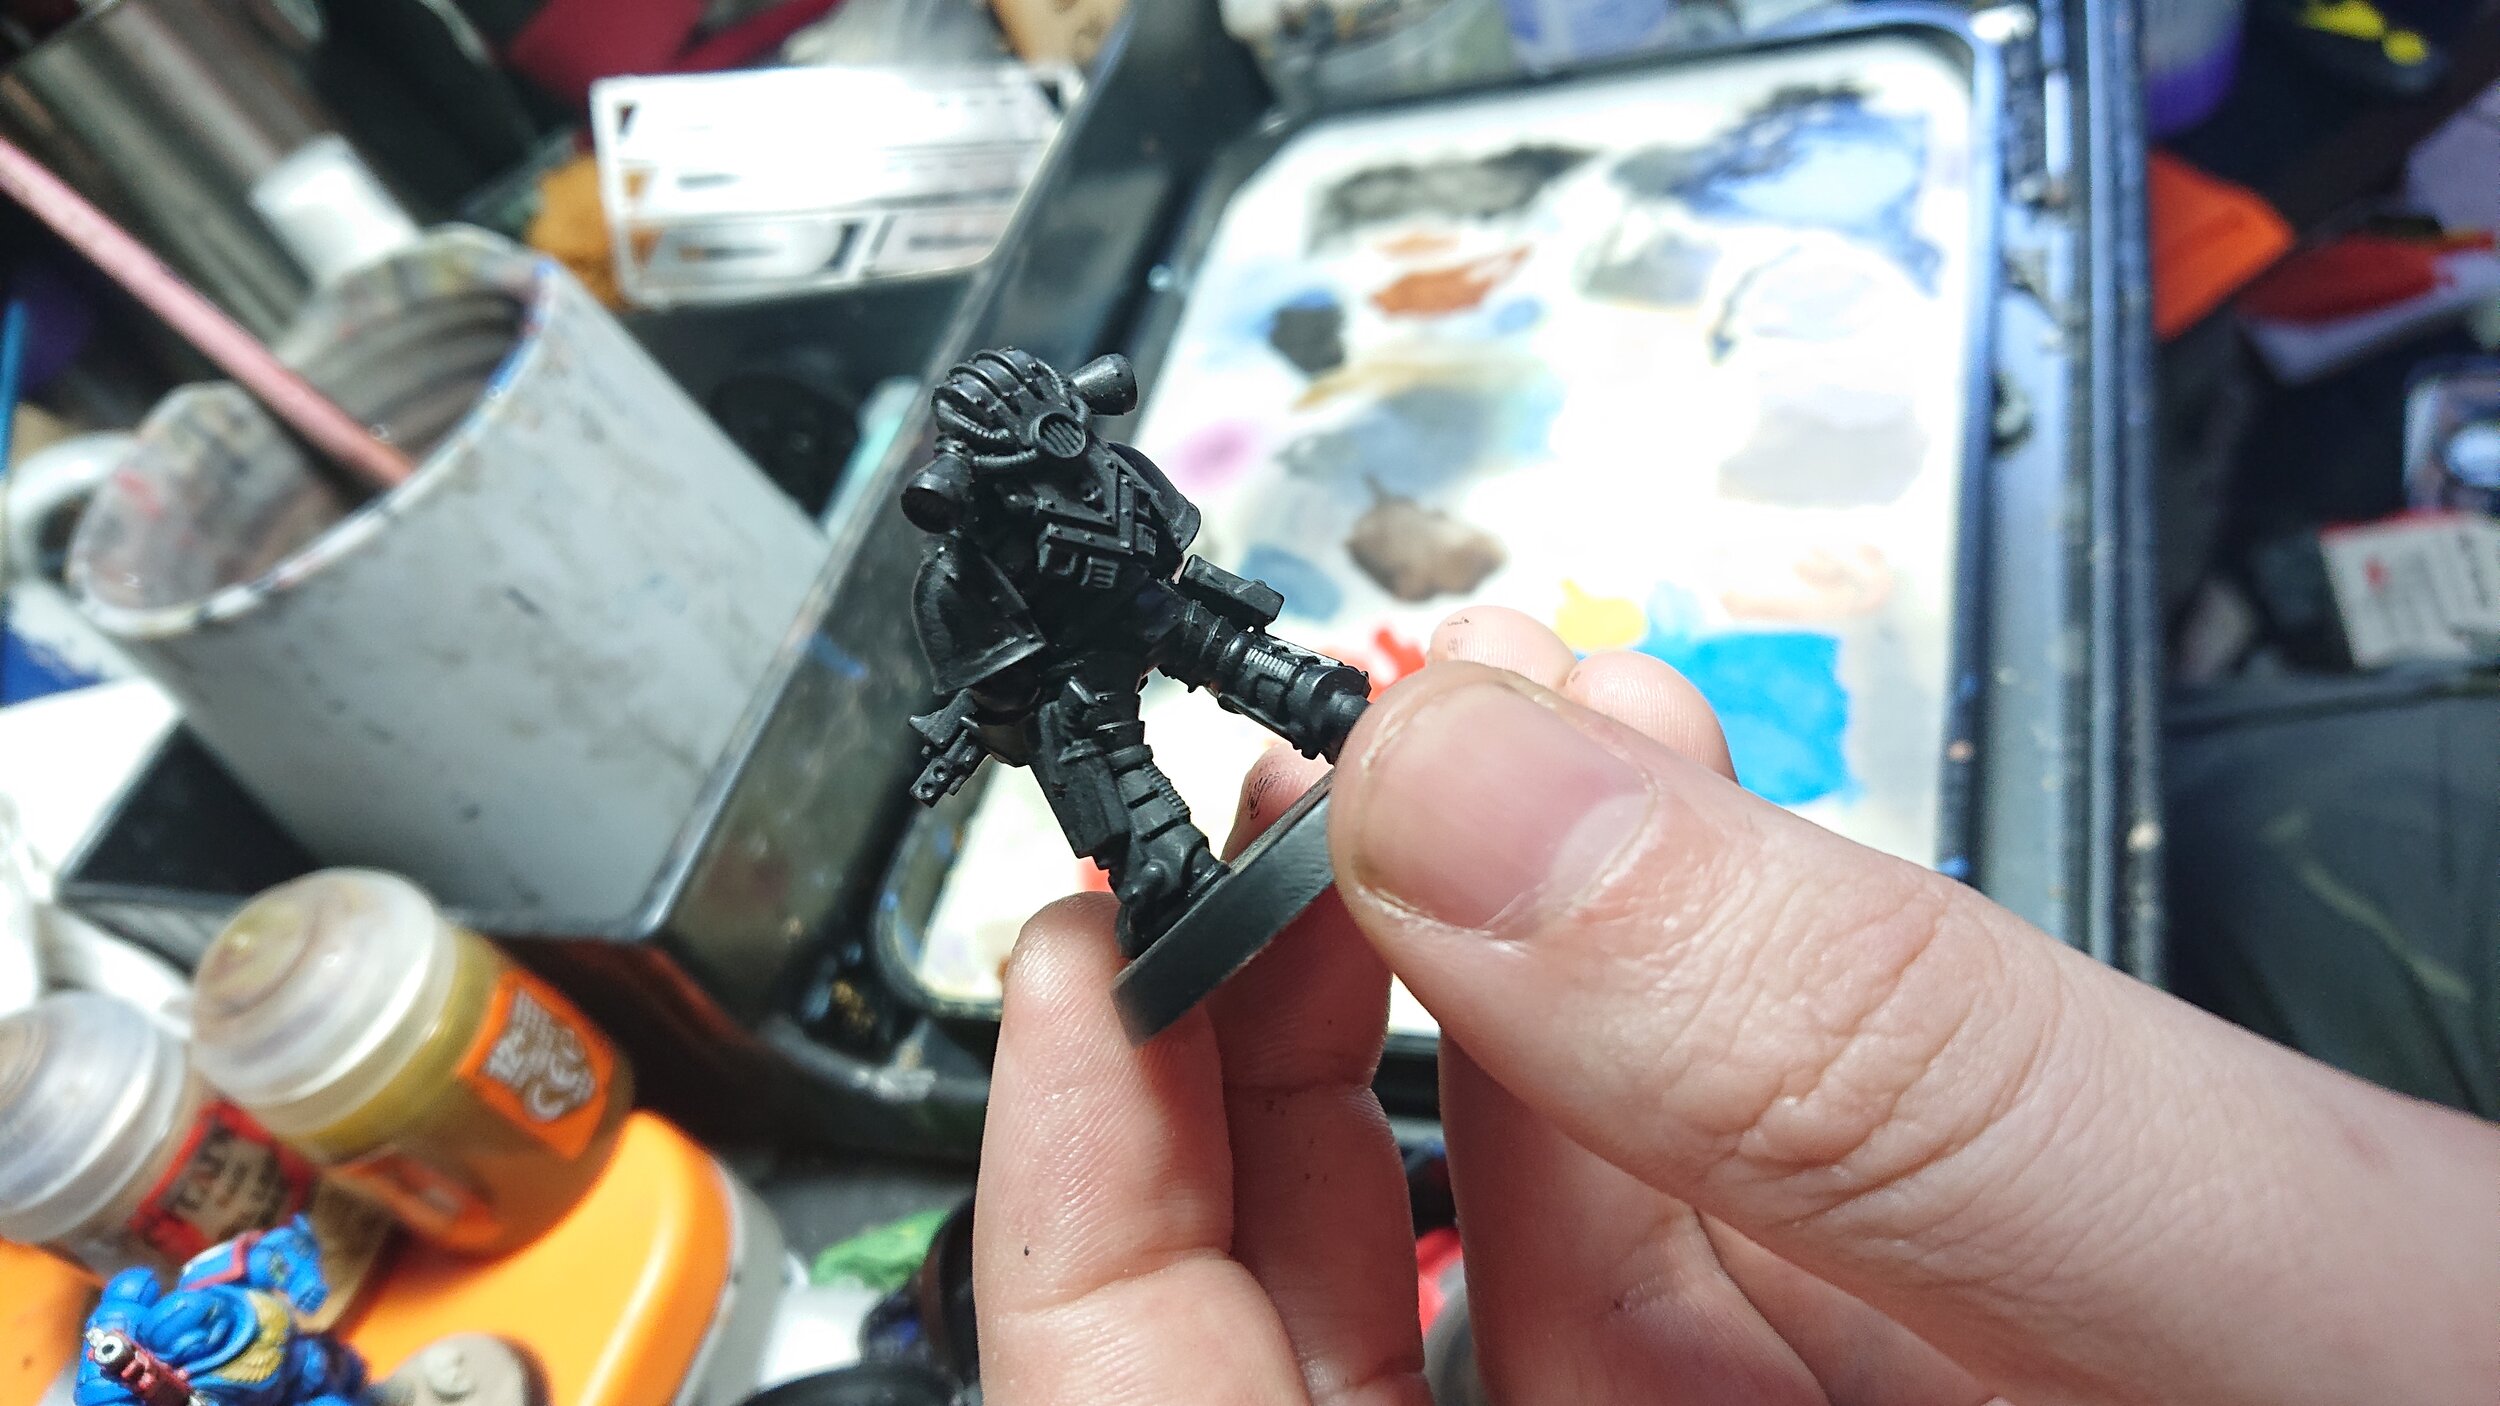
What is ‘Smoking’ a model? Well, it’s a technique where a wash is used over an unpainted model in order to pre shade the miniature and pick out all the detail.

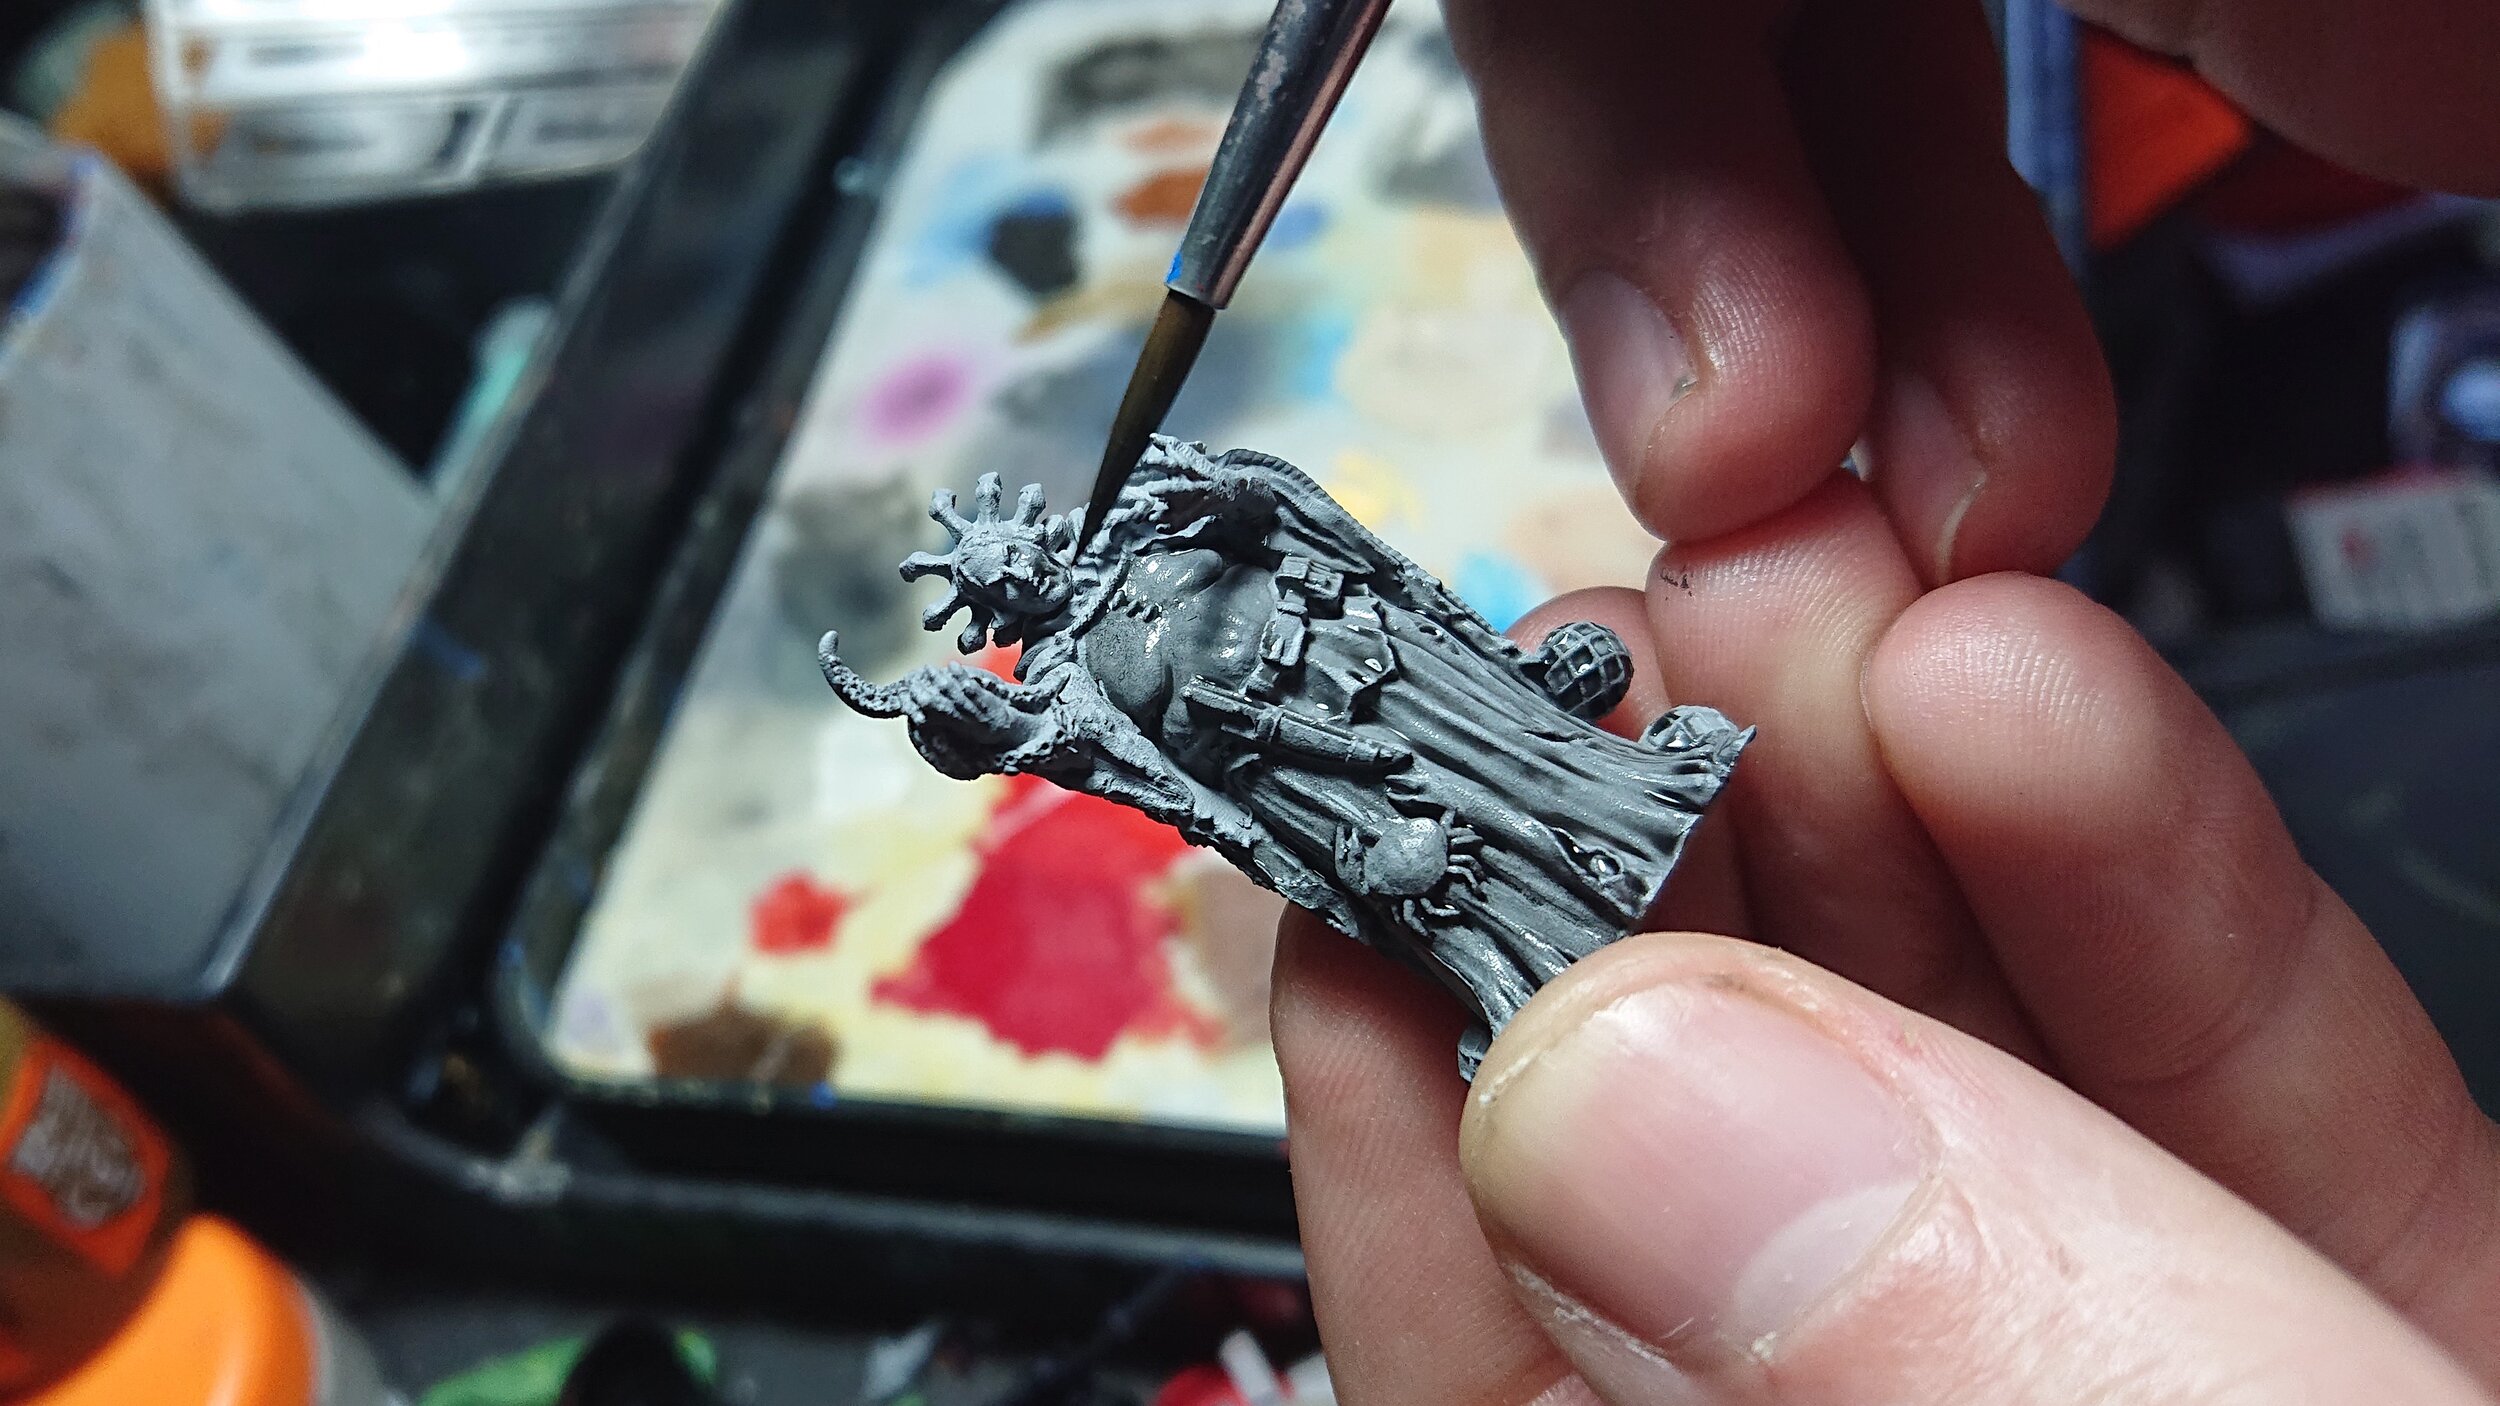
Either use a commercial wash such as 'Nuln Oil' or some heavily watered black paint and then apply it to the model. The wash will naturally collect and settle in the recesses, partially shading the model for you. It won't look quite as good as the shadows with a black spray, but again, it will pick out all that lovely detail for you. You can also use this tip on grey undercoats to achieve the same effect.
Ok so, the model is now primed and ready to be painted. Join me in the final part of this beginners guide where i'll take you through the basics of painting. (with lots more Top Tips of course)

