Time to Battle in Bushido!
It’s been a while since we journeyed together to the Jwar Isles and I think it’s long overdue that we got to see some action. So, I arranged a skirmish between my Jung pirates and the local Ito Clan chieftain. We decided to play a 36 rice game because the Ito starter totals that level rather than the 35 rice that would be a standard small scale game. The Ito Clan was made up as follows:
Itsunagi Ito (13 rice)
Sakura (7 rice)
Chiyo (6 rice)
Temple Bushi (5 rice)
Akimoto (5 rice)

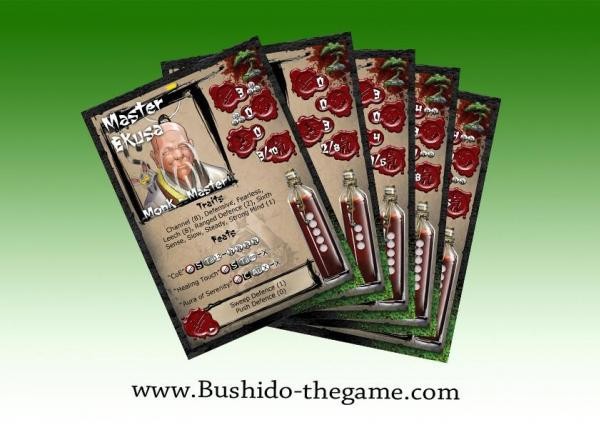
With my Jung pirates starter (see my last blog) totalling 35 rice which means I could add Healing Balm for one rice to Mari Jung which gave her the Heal (2) skill which meant that if she was not in base to base with an enemy model she could remove two wounds with a simple action or a friendly model in base to base. That should prove handy. We decided to play a simple assassination game where we would both nominate a VIM (Very Important Model) for the opponent. The winner would be the first to kill the other VIM. The pirates nominated Itsunagi Ito whilst the Ito Clan picked Mari Jung which seemed very thematic because they are both the Samurai for their warband.

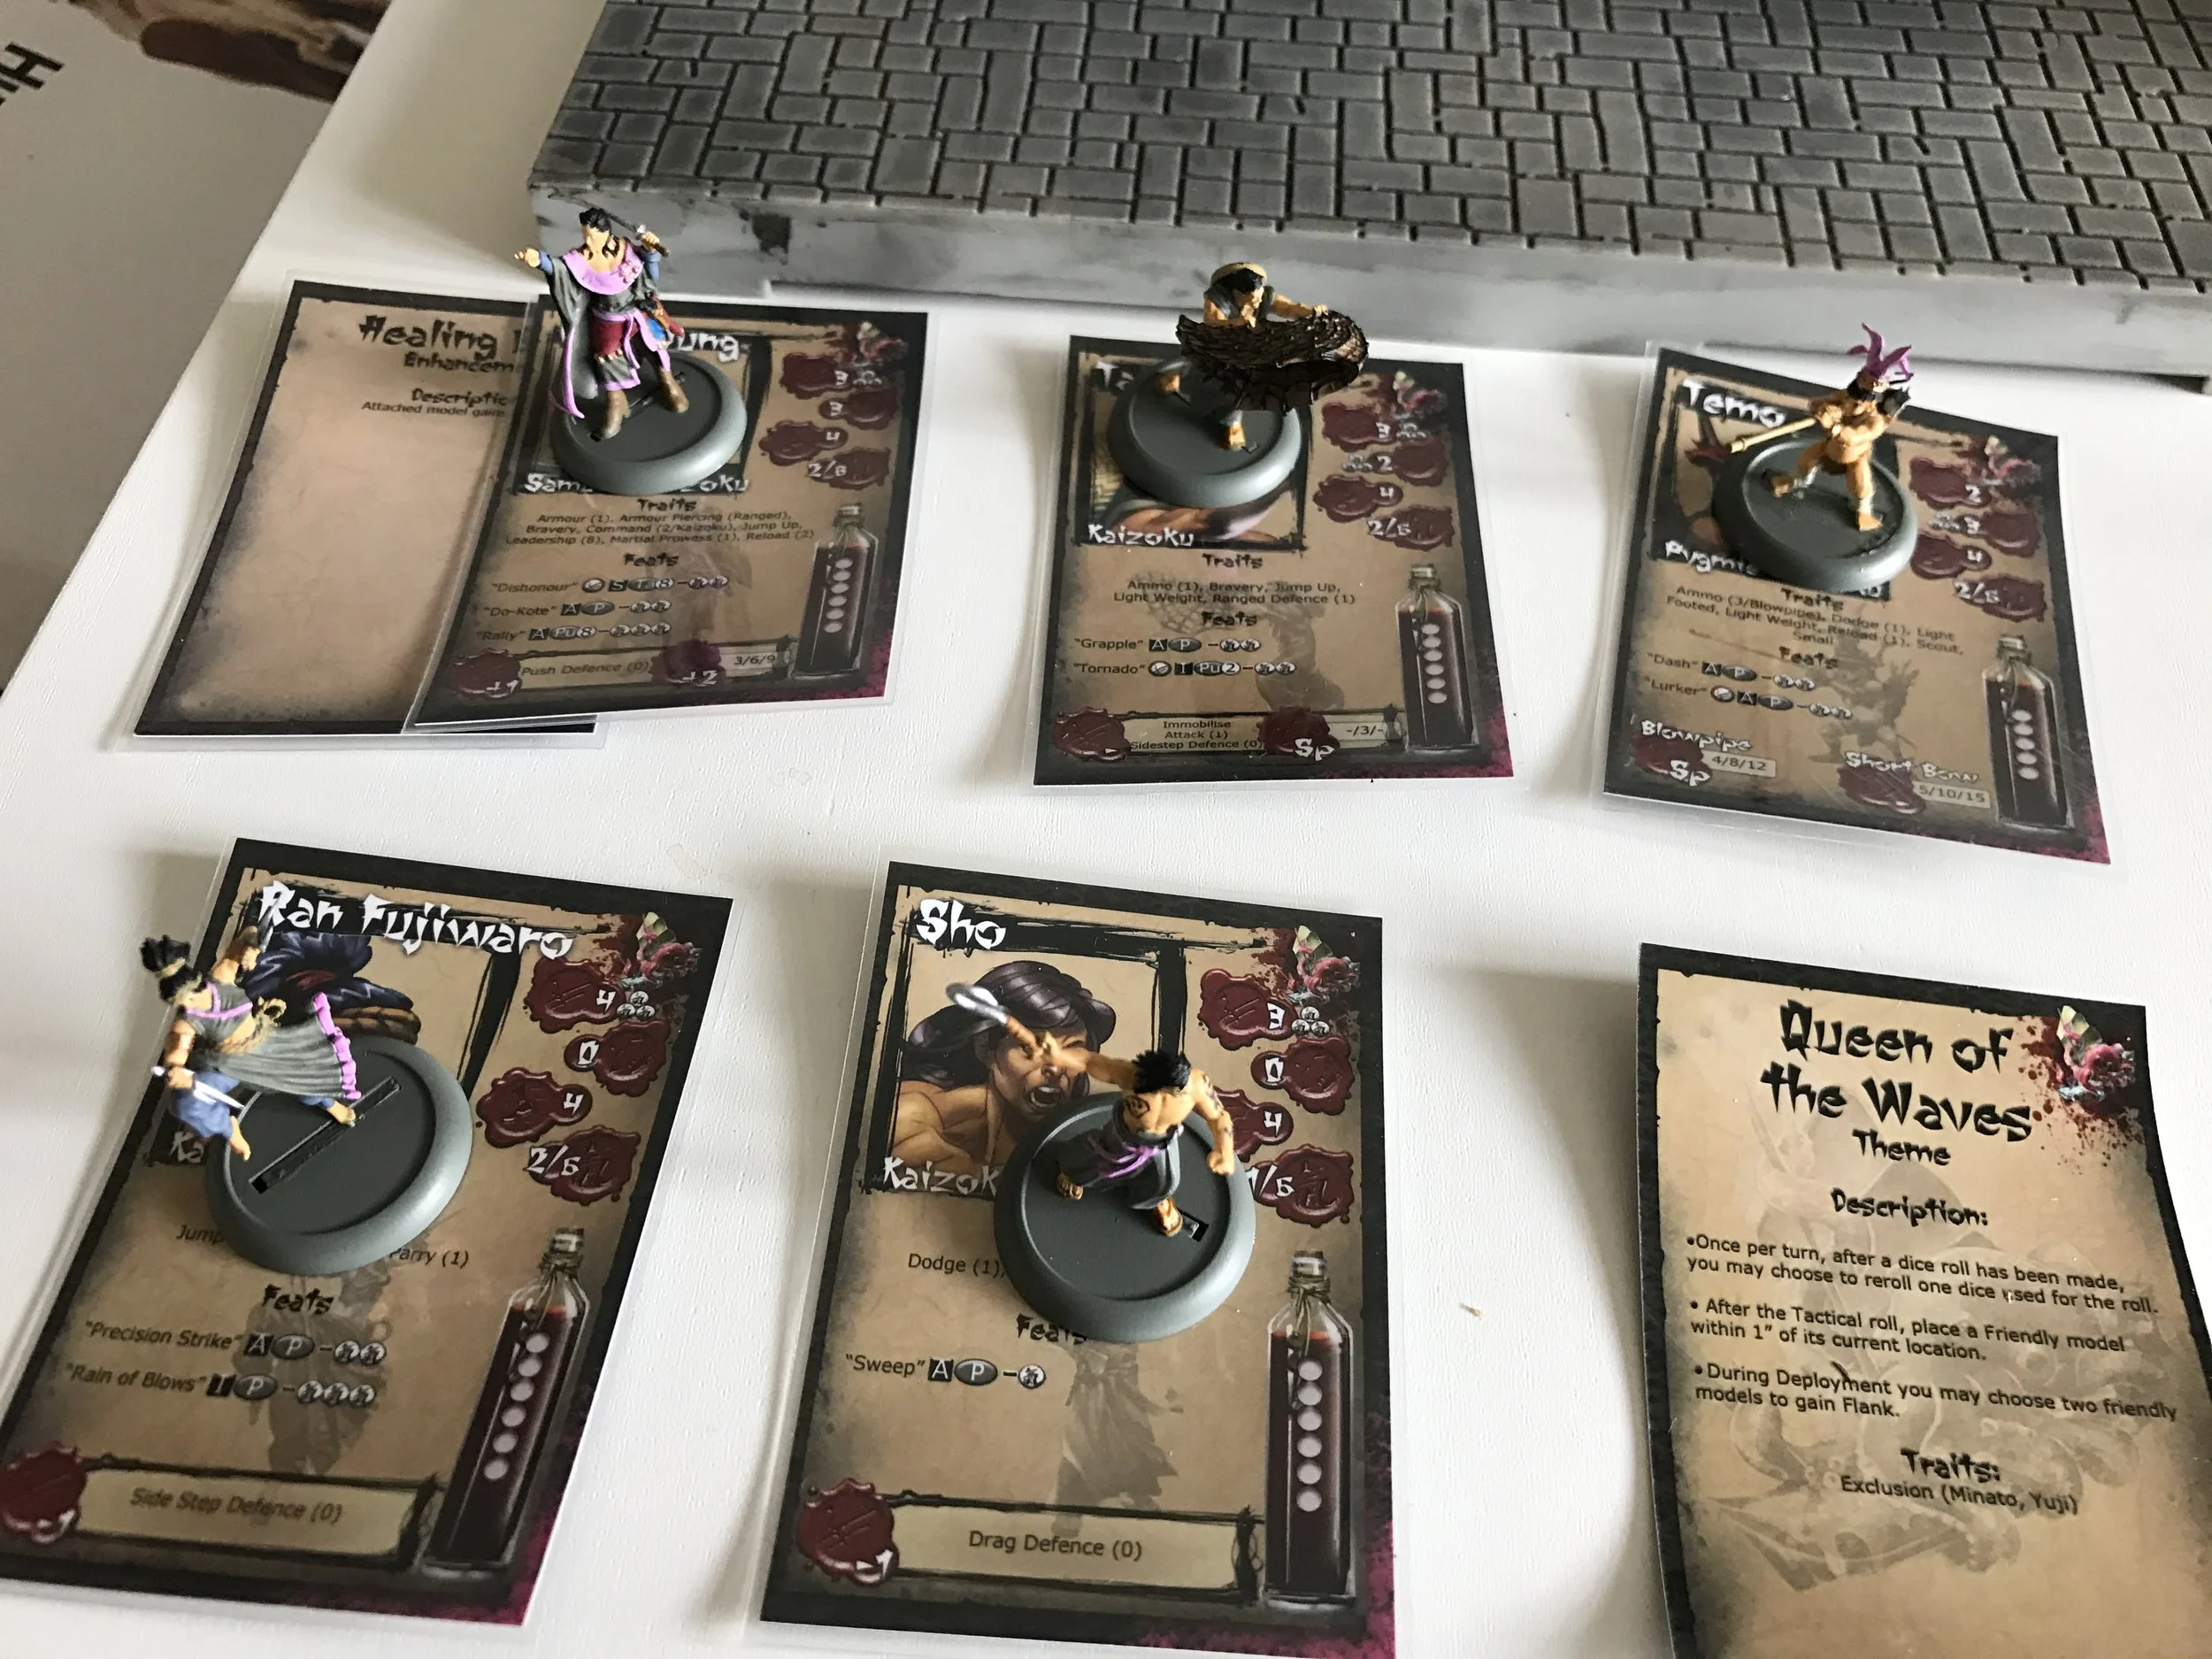
The board was set and the Ito clan were ready to repel my pirates who had come to trade their ill-gotten games in the shanty town market.


Turn one

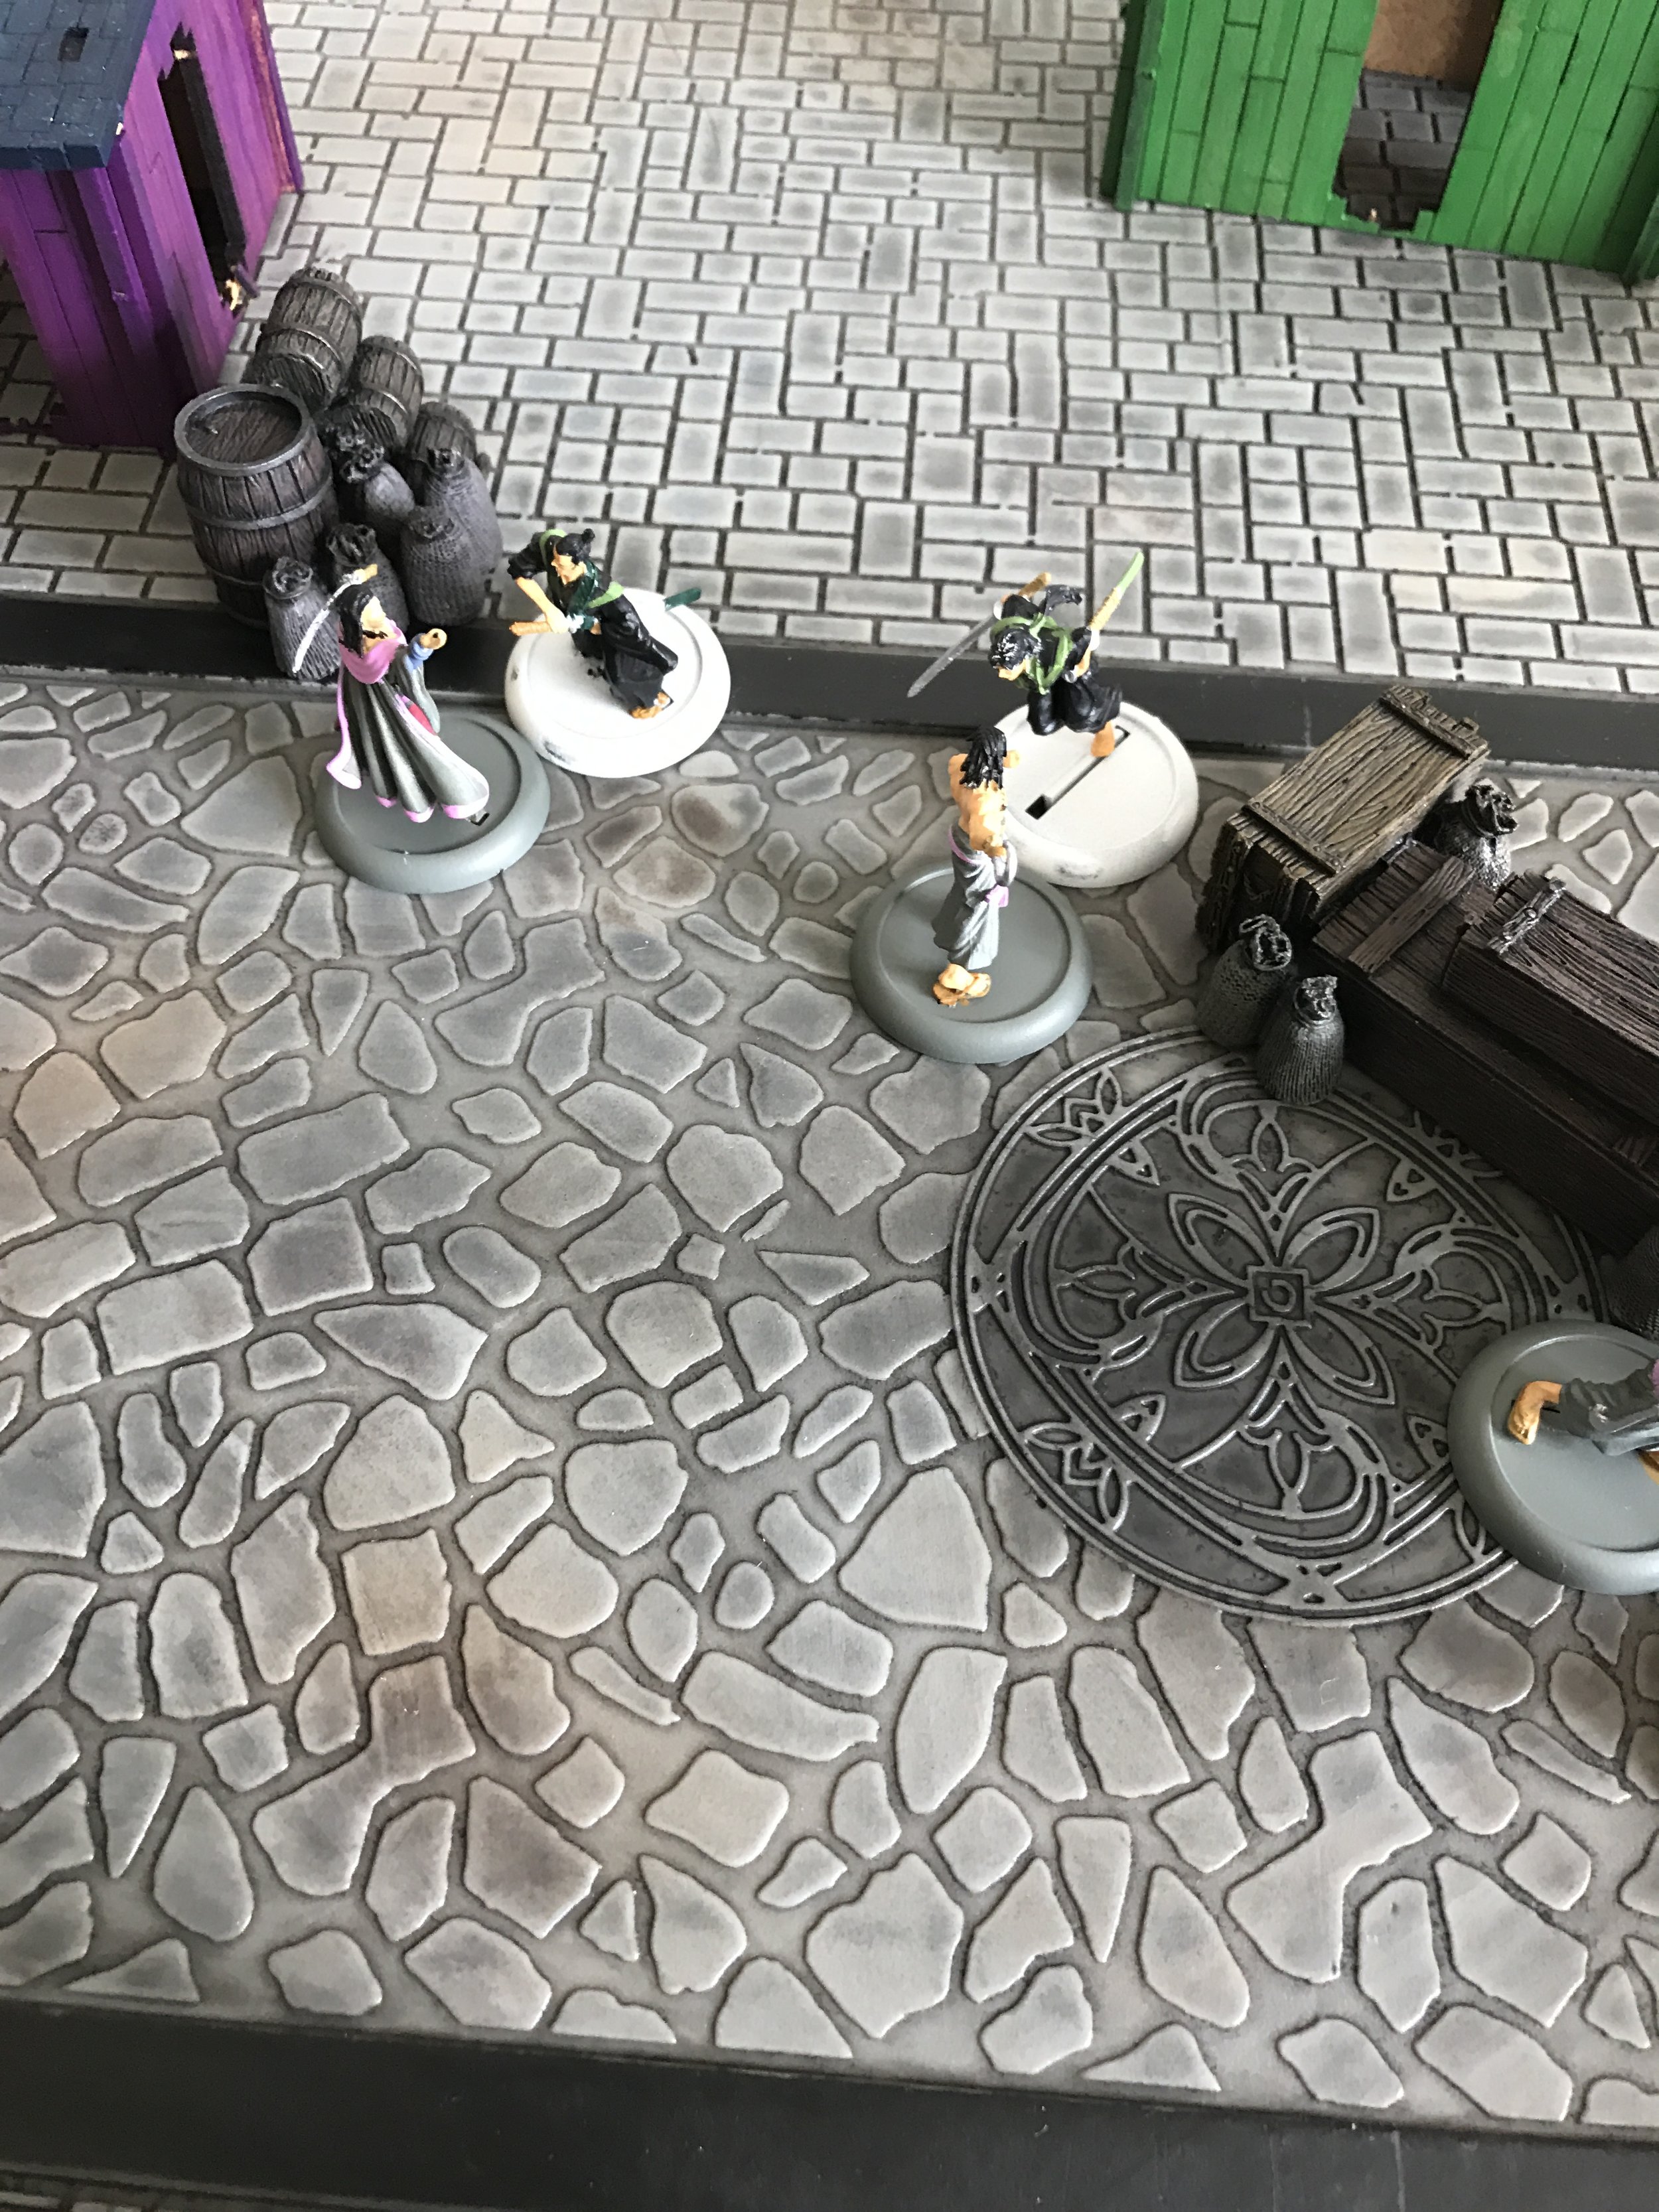
The Ito Clan won initiative despite Temo’s Scout skill giving me +1 to my TAC roll. However, due to his Akimoto’s Impetuous skill, the Ito clan were forced to run the snake man forward. The Jung countered by letting Mari to advance cautiously to behind some crates. Sakura performed a complex action to focus and gain an additional two Ki but moving her directly to the exhausted state. There than began a period of running with Sho, Itsunagi Ito, Ran Fujiwaro, the Akimoto (again) and then Temo all moving forward in turn. The Ito clan broke the chain by advancing the Temple Bushi to avoid being in range of Mari’s pistol (which was devastating in our warm-up game). Taru and then Chiyo both then ran before the action started in earnest. Temo took a shot at the Akimoto with his bow. The Akimoto was 8” away from the pygmy assassin which meant he was at mid-range and because Temo has the Light Weight skill he suffered no penalty for moving and shooting meaning it was a 5 to hit. Temo rolled an 8 and caused 4 damage. First Blood!
Things got a little cagey then with advances replacing runs as no-one wanted to be in range of missile fire or charges next turn. First, the Bushi advanced followed by Sho and Chiyo. Mari took advantage of Chiyo’s advance by aiming a shot at her. It was at long range and Mari had the penalty for moving last activation meaning she needed a 7 to hit but only rolled a 6. Mari gained two reload tokens for her troubles. The turn ended with Itsunagi advancing followed by Taru and then Ran.

Turn two
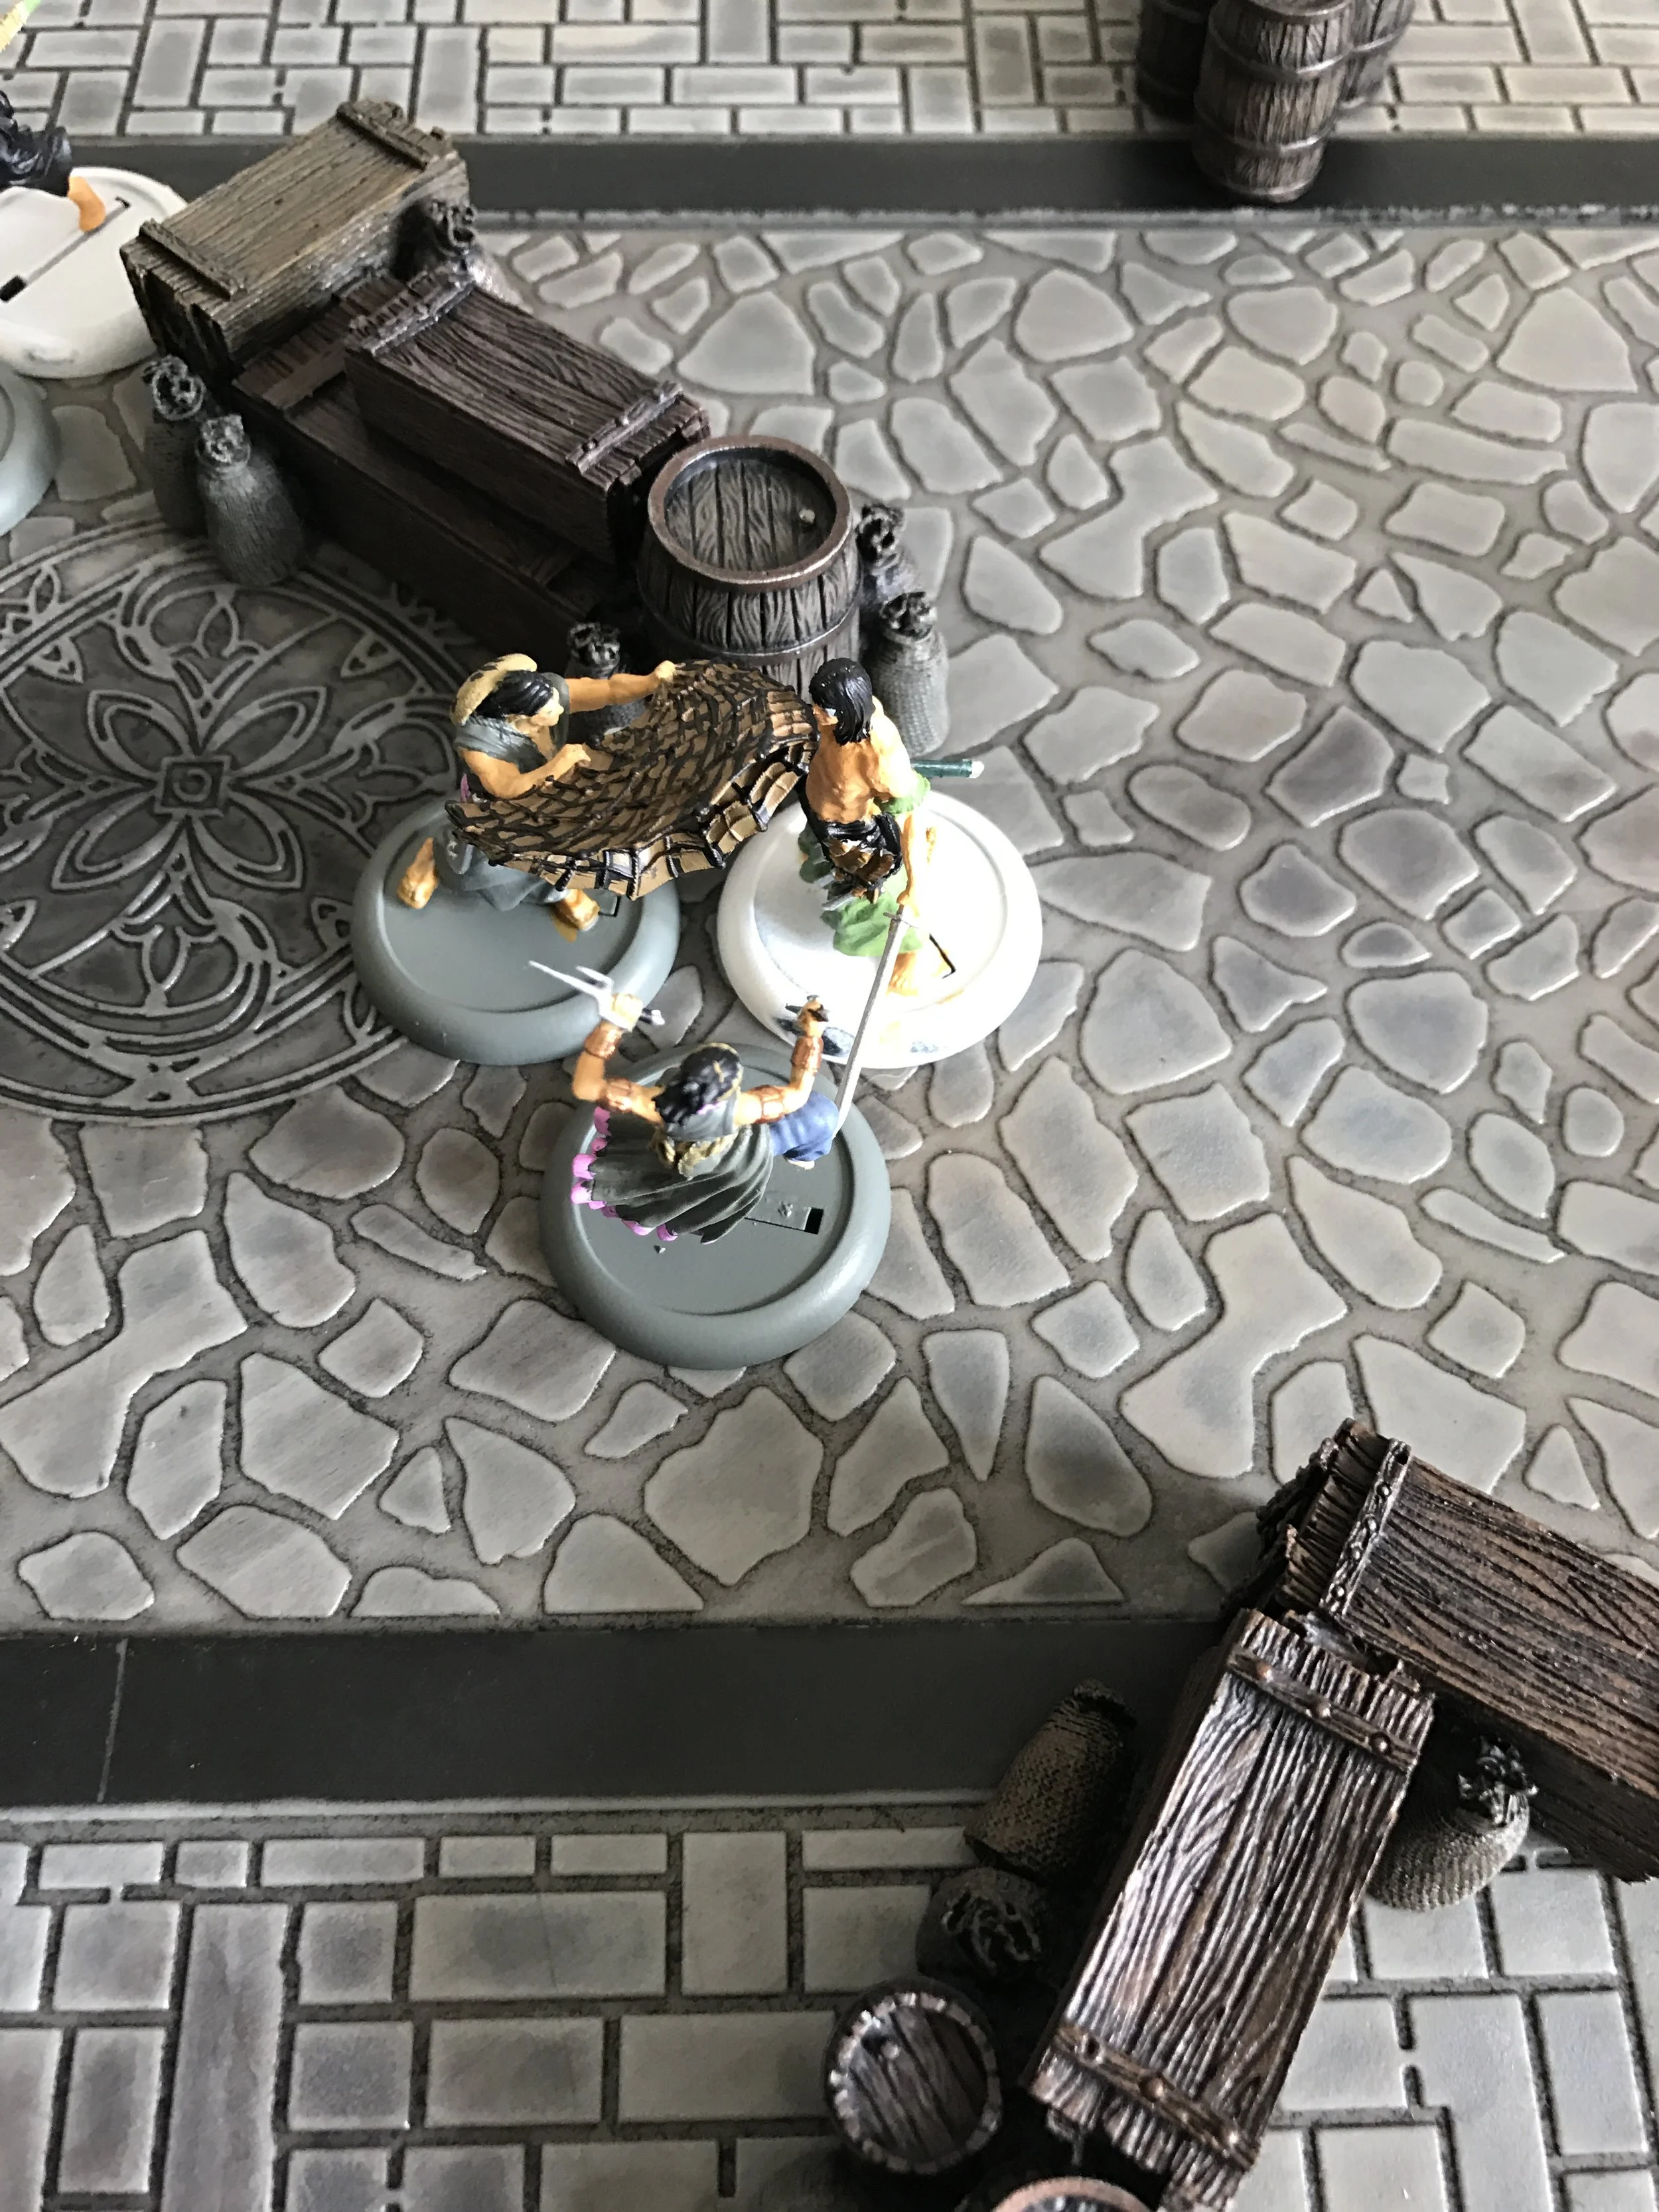
Following the allocation of Ki tokens, the Jung pirates won initiative and I decided I needed to tie Itsunagi up in combat and not give him the chance to charge. So, Taru advanced into combat with Itsunagi with the aim of throwing his net over Ito in combat. Taru spent three Ki to boost his attack while Ito spent two Ki to boost his melee to 5 and a further two to give him Cobra Strike which meant that for the rest of the turn he would strike first in combat. The melee rolls were made and Ito’s attack was resolved first winning his roll 7 to 4 and causing 4 damage. (Rules mistake – Due to his Combo Strike (0) skill we should have resolved another damage roll at success level 1 but completely forgot. Taru probably would have been killed by this). Taru’s attack, in turn, was a miss at 5 vs 6. That melee advance was a tactical mistake but at least Ito had spent all four of his Ki tokens and he was now tired.
The Akimoto then charged at Ran due to his ‘Impetuous’ skill meaning he had to activate first. The Akimoto’s combat roll was 4 to Ran’s 2 which was boosted by 1 to 3 due to Ran’s Parry skill causing no damage. Ran then won the return roll 4 to 0 and caused 4 damage killing the snake man. Mari must have been pleased with what was going on because she spent her activation standing still and removing one of her two reload tokens. Sakura then advanced and channelled her six Ki tokens to Itsunagi. Oh no! Taru decided to make a heroic move and attack Ito again in an attempt to exhaust the Samurai for the combat boost later in rounds. Taru put everything into defence and the roll was 6 to 5 in Ito’s favour but a lucky roll caused 0 damage. The fisherman was still alive!
Chiyo then charged at Sho and because the charge started from outside of Sho’s front arc, it inflicted the surprised condition meaning Sho lost a combat dice. Chiyo scored a 4 to 2 win in her combat roll causing 2 damage. Sho responded by rolling a 5 to 6 and missing. Temo advanced towards Sakura on the other side of the board and the Bushi responded with an advance on his flank. Mari also advanced towards the Chiyo and Sho combat and Sakura then advanced away from Temo.
Sho decided the time was right to hit Chiyo. Chiyo spent two ki to acquire Asp strike which gave her first strike. Chiyo rolled a 3 to 2 on her combat roll causing 0 damage and Sho rolled 4 vs 4 and also caused 0 damage leaving both parties exhausted. The Temple Bushi then decided to cut Mari off and moved into melee combat. Mari spent three Ki to boost her combat roll which is something the Bushi couldn’t afford to do. The Bushi rolled first winning his roll 5 to 4 and causing 1 damage. Mari retaliated by winning her roll 5 to 0 which led to 5 damage.
The final action of the round involved Ran advancing toward Ito. Itsunagi spent two Ki to boost his melee dice back to four since he lost one for being exhausted. Unfortunately, he didn’t lose one for being outnumbered by Taru because of his Indomitable (1) skill. In a moment of madness (later explained as the fact that we had forgotten that Itsunagi still had cobra strike), Itsunagi put all his dice into defence spending one to gain Counter attack Defence (1) which meant that if his defence was successful he would actually hit Ran with his success level less two. Ito won the defensive exchange 9 to 7 meaning he hit at a success level of 0 and actually caused 2 damage to Ran. This Samurai was beginning to justify his 13 rice cost. Temo advanced to end the turn.
Turn 3

The Ito Clan won the initiative and Itsunagi attacked Taru. Both spent their Ki tokens to boost their combat but with Ito winning his roll 8 to 7 Taru never got a chance to swing back as he was cut down. Mari tried to enact some retaliation by attacking the Temple Bushi. She spent her Ki tokens to boost her melee roll but the sneaky Bushi spent two Ki tokens to gain Asp strike and, therefore, first strike. The Bushi won his roll off 8 to 5 causing 2 damage but then Mari won her roll 8 to 0. We didn’t even bother with the damage roll because the minimum I could have scored with a success level of 8 would have killed a healthy Bushi!
Sakura then stood still and channelled another 2 Ki tokens to the cursed Itsunagi Ito. Temo snuck his way up the flank towards Sakura and on the other side of the board Chiyo instigated an attack at Sho but both missed their attack rolls. Finally, Ran decided the time was right to try and deal with Itsunagi. Ran spent her Ki to boost her melee and, unsurprisingly, Ito spent his Ki to acquire Cobra strike. In a moment of pure delight, Itsunagi made the worst roll ever (actually this was the second time this happened to him with the same thing happening in our warm up game) and missed Ran who countered with a hit of 7 to 2 causing 5 damage.
Chiyo then attacked Sho again winning her attack roll 5 to 3 and causing 4 damage that killed Sho. Ran took her chance to attack Ito again but with Cobra strike still active, Ito won the roll to hit 5 to 2 and killed Ran. This game was becoming a bloodbath! The final action of the turn saw Sakura attack Temo to avoid being shot at and fortunately scoring a hit 7 to 5 causing 2 damage. Mari spent the last action of the turn by removing the last reload token ready to shoot next turn.
Turn 4
The Pirates won the initiative roll and Mari went for the win by taking a shot at Itsunagi who wasn’t looking very healthy at this point. The shot was 7” away which was at long range compounded by the fact that Ito causes a +1 to the to hit target due to his Ranged Defence (1) skill meaning the target number was 7. Mari made the roll to hit but with a success level of 0 meaning her trusty pistol caused no damage. Chiyo then took her chance to win the game by attacking Mari. However, Chiyo won her roll with a success level of zero meaning that she caused no damage and Mari responded by winning her roll 3 to 0 causing 2 damage.
Temo then made his own play for the win. He spent two Ki to gain “Dash” which gave him auto disengage skill which meant that he could declare his action ignoring Sakura who was in base to base contact with him. Temo advanced and took a shot at Itsunagi with his bow who was only 4” away which meant it was a short range shot. Despite only needing a 5 to hit (thanks to Itsunagi’s Ranged Defence (1)), Temo spent his Ki to boost the shot and gain an extra dice. Temo rolled a 9 which was a success level of 4 easily killing Itsunagi Ito and winning the game for the Pirates!!!


What a game!! It all came down to that shot from Temo because if he’d missed then Itsunagi was heading towards Mari and I don’t think she would have survived being in combat with both Ito and Chiyo. It also showed how quickly the Ki tokens changed the course of the game. Itsunagi gaining tokens from Sakura in the second turn was devastating because it meant he could easily handle both Ran and Taru killing them both. Cobra strike was also a powerful skill because he could throw everything into a devastating attack roll even when he didn’t have initiative. Itsunagi Ito is a beast! If it hadn’t been for that poor roll in turn three, Itsunagi Ito would have slain Ran and not taken the damage the eventually led to his demise. I think he’s well worth his cost of 13 rice.
I will say that I was a little disappointing with Mari’s aim with her pistol in the game causing zero damage. She caused massive damage during our practice game (+2 on damage rolls for pistol shots is pretty handy) which the Pirates won easily. However, I still think she’s best deployed behind the front line waiting for a shot and allowing her katana to act as her shield. I didn’t utilise her command skills for the other members of the crew but I didn’t feel it would have helped in any situation. (I also could have utilised Mari’s theme but decided to stay away from that this game because the Ito Clan didn’t have access to an update deck of cards)
In our next trip to Jwar, I’ll have a look at the Ito clan side that I faced today and let you know a bit more detail about their skills that we saw in this game and the one’s we didn’t. Then we’ll be looking at either a 50 rice game with the Ito or another 35 rice game against another crew. Until next time.
___________________________________________________________________________
ASSOCIATED PRODUCTS